
Introduction to Pumpkin Patch Dirt Cups
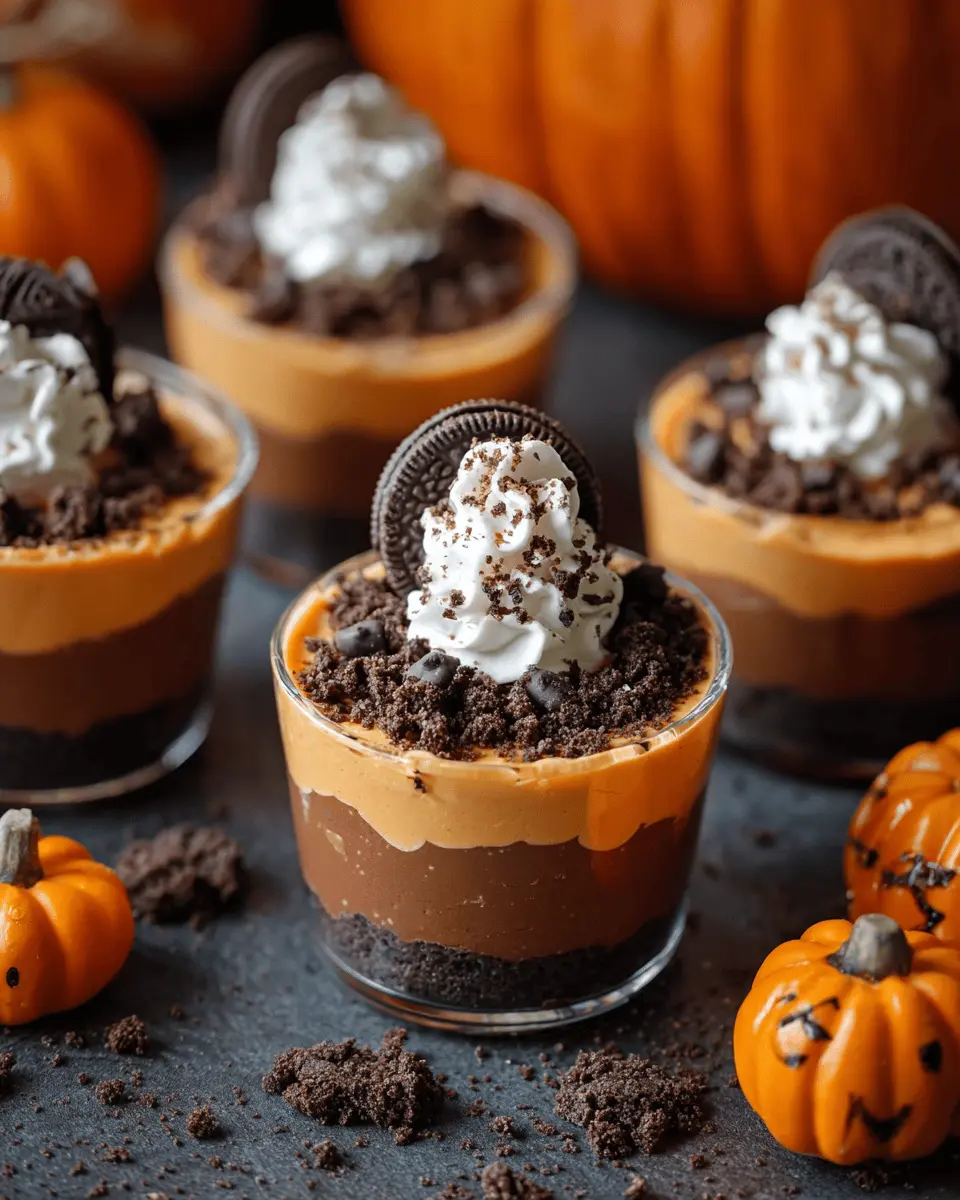
If you're juggling a busy career and personal life, pumpkin patch dirt cups are the ideal treat for you and your friends. These delightfully cute dessert cups combine simplicity and flavor, making them a hit for both casual gatherings and get-togethers. With just a few ingredients, you can whip up this fun treat in no time, leaving you more moments to connect with loved ones or unwind after a long week.
Why are these dirt cups the perfect addition to your fall festivities? For one, they're incredibly versatile, allowing you to customize them with various toppings or even switch up the flavors. You can double the recipe for a crowd or make a mini version to enjoy solo. Plus, the nostalgic presentation—a layer of crushed Oreos mimicking dirt topped with pumpkin candies—totally brings out the kid in you.
Moreover, studies show that engaging in simple, fun activities can significantly reduce stress and boost your mood. So why not gather your friends, channel your inner chef, and create these delightful pumpkin patch dirt cups? You’ll not only enjoy a tasty dessert, but you'll also make cherished memories. For more recipe inspiration, check out Food Network's fall collection to keep your culinary adventures exciting!
Ingredients for Pumpkin Patch Dirt Cups
Creating delightful pumpkin patch dirt cups is a fun and delicious way to celebrate the season! Here’s what you’ll need to get started:
-
Instant Chocolate Pudding Mix: A 3.9-ounce package creates the rich, creamy base. This is what makes your cups so indulgent, reminding you of your childhood favorites.
-
Cold Milk: You’ll need 2 cups to mix with the pudding. Full-fat milk gives it that creamy texture, but you can opt for non-dairy alternatives like almond or oat milk if you’d prefer!
-
Oreo Cookies: Grab a 14.3-ounce package for that authentic “dirt” texture. The crunchiness of crushed Oreos adds a great contrast to the pudding.
-
Whipped Topping: An 8-ounce container, thawed, is essential for achieving that light and fluffy creaminess.
-
Pumpkin-Shaped Candies: Eight of these little cuties will bring your pumpkin patch dirt cups to life!
-
Clear Plastic Cups: You’ll need eight to showcase your cute creations.
-
Pretzel Sticks: Four sticks serve as adorable pumpkin stems.
With these ingredients, you'll be well on your way to crafting a festive treat that’s sure to impress friends and family! Want more tips on creating fun desserts? Check out delicious ideas at Food Network for inspiration!
Step-by-Step Preparation of Pumpkin Patch Dirt Cups
Creating delightful pumpkin patch dirt cups is a fantastic way to celebrate fall! Whether you're hosting a cozy gathering or just want to indulge your sweet tooth, these cups will surely be a hit. Let’s get started with this easy step-by-step preparation guide!
Gather Your Ingredients
Before you dive into the fun of assembling your pumpkin patch dirt cups, take a moment to gather all your ingredients. Here’s what you’ll need:
- 1 package (3.9 ounces) instant chocolate pudding mix
- 2 cups cold milk
- 1 package (14.3 ounces) Oreo cookies, crushed (let your inner child come out while crushing them!)
- 1 container (8 ounces) whipped topping, thawed
- 8 small pumpkins-shaped candies, for that authentic fall touch
- 8 small clear plastic cups, perfect for showcasing your delicious creations
- 4 pretzel sticks to create adorable pumpkin stems
By prepping everything first, you’ll make the assembly process much smoother and even more enjoyable.
Prepare the Chocolate Pudding Mixture
To kick things off, grab a large bowl and whisk together the instant chocolate pudding mix with the cold milk. Keep beating until the mixture thickens—this usually takes just a couple of minutes. Once it’s nice and creamy, chill it in the refrigerator for about five minutes. This little moment of patience will pay off with a rich and silky pudding!
Fold in the Whipped Topping
After your pudding has thickened, it’s time to make it extra special. Gently fold in the thawed whipped topping using a spatula. It’s essential to. This step creates a light and airy texture, making your pudding even more decadent. Be careful not to overmix—you're aiming for a delightful combination, not a flat mixture.
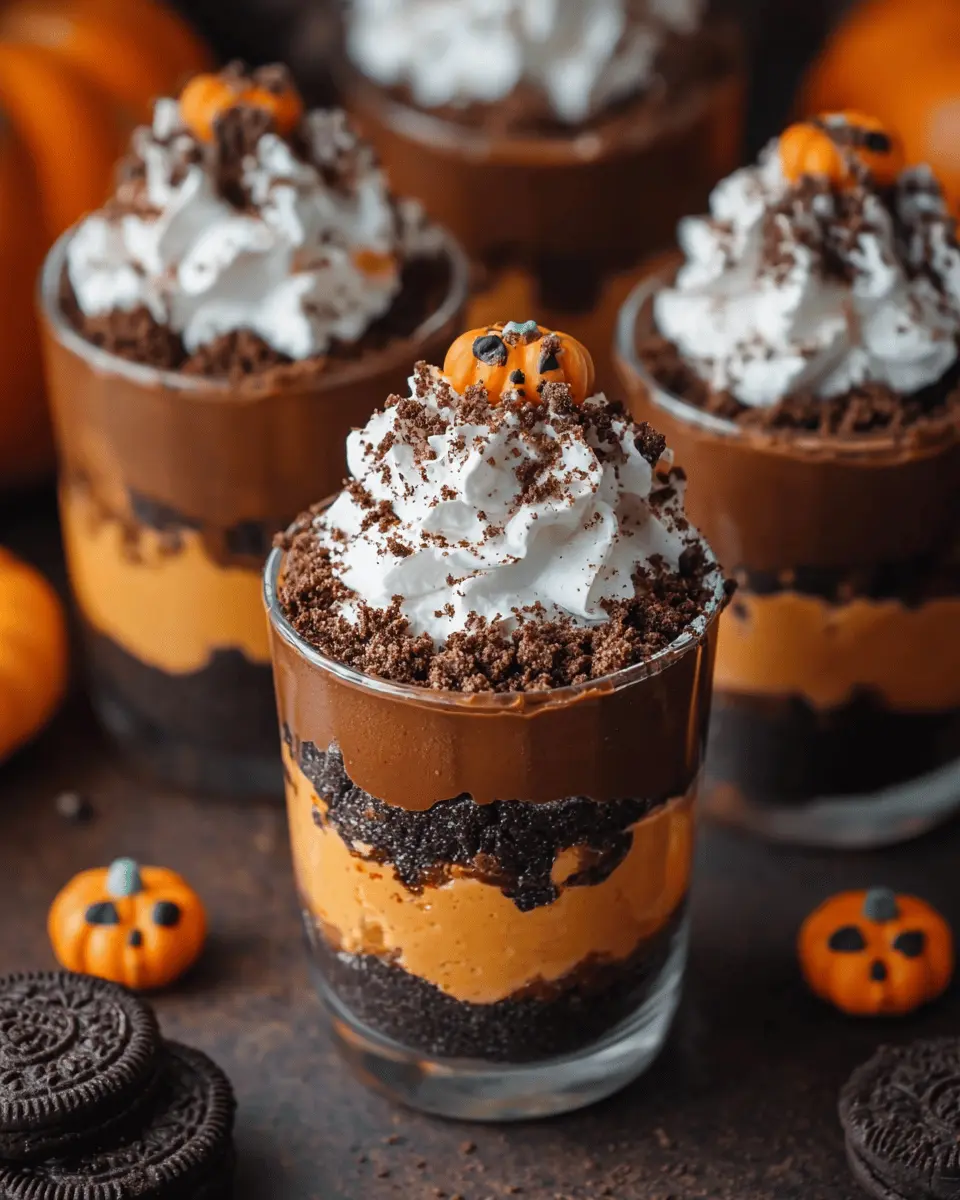
Layer the Cups with Oreos and Pudding
Now comes the fun part! Start by placing a layer of crushed Oreos at the bottom of each clear plastic cup. Think of it as creating the “soil” for your pumpkin patch dirt cups. Next, spoon the chocolate pudding mixture over the Oreo layer, filling each cup about three-quarters of the way full. The contrast of textures will make each bite a delicious experience.
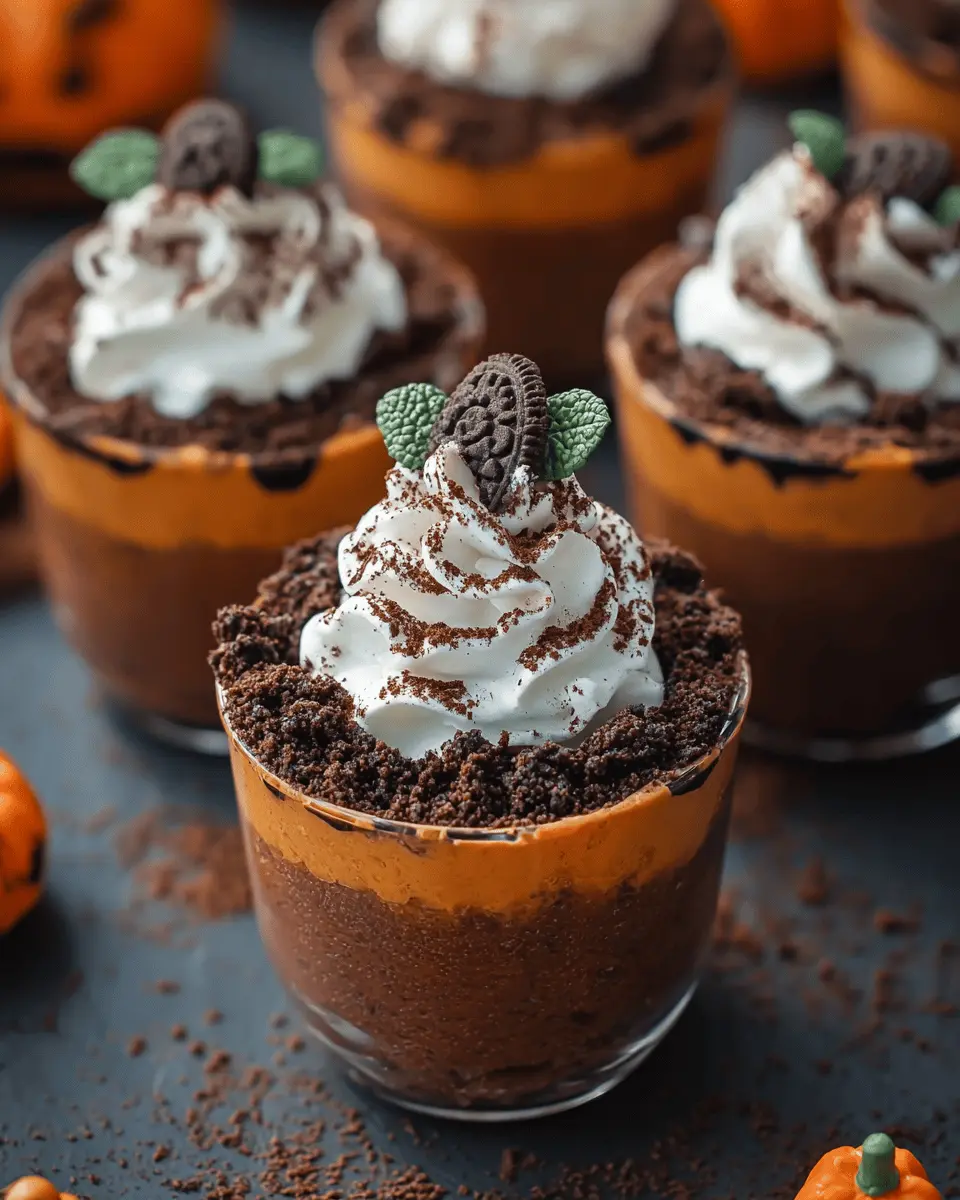
Add the Finishing Touches
To finish these delightful cups, top them off with the remaining crushed Oreos, giving it that earthy look reminiscent of a real pumpkin patch. Then, carefully place a candy pumpkin on top and stick a pretzel stick for an adorable pumpkin stem. The combination of flavors and textures will impress your guests—trust us!
With your pumpkin patch dirt cups assembled, all that’s left is to dig in and enjoy! They are not only a tasty treat but also a visual delight that encapsulates the spirit of the season. Perfect for sharing, these cups are sure to bring smiles all around! For more fun fall treats, check out this Halloween dessert ideas blog post.
Variations on Pumpkin Patch Dirt Cups
Halloween-themed dirt cups
Your adorable pumpkin patch dirt cups can take a spooky turn for Halloween! Swap the pumpkin candies for gummy worms and add plastic spiders on top for a creepy-crawly feel. You can also use a bright orange pudding layer made with pumpkin puree mixed into your chocolate pudding—something unexpected to tickle your taste buds! Who said dirt cups had to be just for fall? They're perfect for any festive gathering!
Healthy alternatives for dirt cups
Looking for a healthier twist on traditional dirt cups? Consider using Greek yogurt as a base instead of pudding for a protein boost. You can mix in some cocoa powder for a rich flavor. For a more nutritious topping, try crushed nuts or granola instead of Oreos. These swaps can transform your pumpkin patch dirt cups into a guilt-free treat! ★ Check out this source for more healthy dessert ideas.
Experiment with these variations and let your creativity shine!
Cooking Tips and Notes for Pumpkin Patch Dirt Cups
Creating delightful pumpkin patch dirt cups is a fun way to celebrate the season! Here are a few tips to elevate your dessert game:
-
Crush the Oreos Well: For the best texture, use a food processor to achieve fine crumbs. This gives a more authentic “dirt” look.
-
Chill the Pudding: Allowing the pudding to chill for a bit helps with the overall firmness. You can even prepare it a day in advance for extra convenience.
-
Customize Your Toppings: Feel free to experiment! Add gummy worms or edible grass for a twist. Your creativity can make this dessert truly unique.
For a deeper dive into making the most of your pumpkin patch dirt cups, check out this fun article on dessert layering techniques. Enjoy your fall festivities!
Serving Suggestions for Pumpkin Patch Dirt Cups
Creating the perfect serving experience for your pumpkin patch dirt cups can elevate them from a simple dessert to a delightful centerpiece at any gathering. Here are some fun, engaging ways to serve them:
-
Themed Table Setup: Set up a rustic table with gingham tablecloths and mini hay bales for a cozy fall vibe. You can even add faux pumpkins as additional decor.
-
Personal Touch: Write the names of your guests on small flags and stick them into the pretzel "stems." This gesture adds a personalized feel, perfect for parties or family gatherings.
-
Share and Serve: If you're hosting a larger crowd, consider a DIY station where guests can customize their own cups with extra toppings like gummy worms, chocolate sprinkles, or even edible glitter for a touch of whimsy.
For more festive ideas, you might want to check out this fall dessert guide for inspirations on enhancing your pumpkin patch dirt cups.
Time Breakdown for Pumpkin Patch Dirt Cups
Preparation Time
Making pumpkin patch dirt cups is a breeze! You’ll need about 15 minutes for preparation. It’s perfect for whipping up a fun fall treat without spending all day in the kitchen.
Total Time
In just 20 minutes, including a short chill time, you can enjoy these delicious cups with friends or family. It’s a quick win for a festive gathering or a cozy night in.
Now that you know the time commitment, let’s dive into the recipe and celebrate the flavors of fall together! If you're looking for other autumn-inspired treats, consider exploring this article on cozy desserts.
Nutritional Facts for Pumpkin Patch Dirt Cups
Calories
Each serving of these delightful pumpkin patch dirt cups packs in about 250 calories. It’s the perfect sweet treat to enjoy during fall festivities without derailing your diet!
Protein
You’ll find around 3 grams of protein in each cup, thanks to the whipped topping and milk. It’s not a hefty amount, but every little bit contributes to your daily intake.
Sugars
With approximately 18 grams of sugar per serving, this dessert leans more toward the sweet side. Consider it an occasional indulgence—after all, it’s fall, and that means pumpkin-flavored everything!
FAQs about Pumpkin Patch Dirt Cups
Can I make pumpkin patch dirt cups in advance?
Absolutely! One of the best aspects of these pumpkin patch dirt cups is that you can prepare them a day in advance. Just assemble the cups, cover them in the fridge, and allow the flavors to meld overnight. This little tip can save you the stress of last-minute preparations, especially when hosting a gathering or Halloween party!
How can I store leftovers?
If you find yourself with leftover cups after your event, no worries! Simply cover the cups with plastic wrap or transfer the contents to an airtight container. They can be stored in the fridge for up to three days. Just keep in mind that the crushed Oreo layer might lose a bit of its crunch over time.
Are there substitutions for the ingredients?
Definitely! If you're looking for alternatives, you can use vegan whipped topping instead of traditional whipped cream. Want something gluten-free? Opt for gluten-free Oreo cookies. You can also swap the chocolate pudding for vanilla if you’re feeling adventurous. The versatility of these cups allows for creativity while maintaining that fun, festive vibe!
For more tips on Halloween treats, check out this guide for inspiration.
Conclusion on Pumpkin Patch Dirt Cups
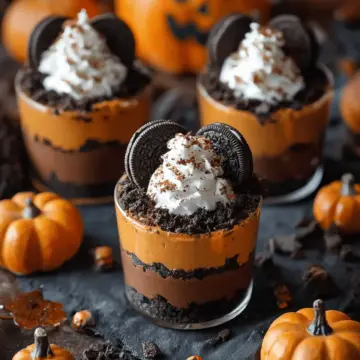
In conclusion, pumpkin patch dirt cups are a delightful treat that perfectly captures the autumn spirit. With layered chocolate pudding and crushed Oreos, they not only taste fantastic but also make a fun addition to any fall gathering. Share them with friends and enjoy the smiles they bring!
For more autumn-inspired recipes, check out the best pumpkin recipes and don’t forget to explore creative serving ideas for your seasonal desserts!
Pumpkin Patch Dirt Cups: Easy and Fun Fall Dessert Recipe
Equipment
- Large Bowl
- Whisk
- spoons
- plastic cups
Ingredients
- 1 package instant chocolate pudding mix 3.9 ounces
- 2 cups cold milk
- 1 package Oreo cookies, crushed 14.3 ounces
- 1 container whipped topping, thawed 8 ounces
- 8 pumpkins-shaped candies for decoration
- 8 small clear plastic cups
- 4 pretzel sticks for decoration
Instructions
- In a large bowl, beat the chocolate pudding mix and cold milk together with a whisk until thickened. Chill for 5 minutes.
- Gently fold in the whipped topping with the thickened pudding until fully combined.
- Place a layer of crushed Oreos at the bottom of each plastic cup.
- Spoon the pudding mixture over the Oreo layer in each cup, filling about three-quarters of the way full.
- Top the cups with remaining crushed Oreos to resemble 'dirt.'
- Stick a candy pumpkin and a piece of pretzel stick in each cup for a pumpkin stem.
Leave a Reply