
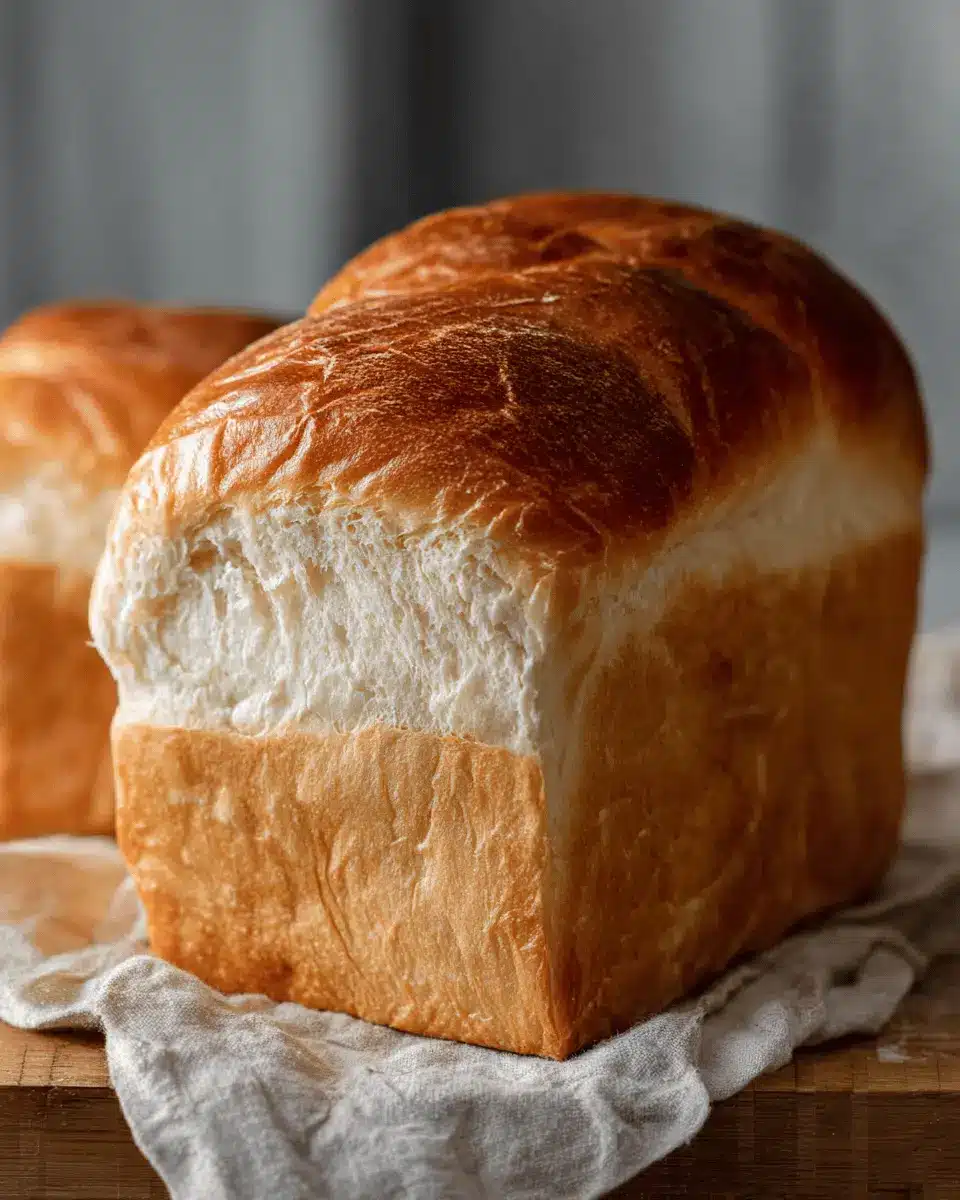
Introduction to Easy Milk Bread Loaf
Making your own bread might seem daunting, but it’s truly a rewarding experience. An easy milk bread loaf offers a soft, fluffy texture that can elevate any mealtime. Plus, there’s just something special about the smell of freshly baked bread wafting through your home. Not to mention, homemade bread is free from preservatives and additives often found in store-bought options. If you yearn for a comforting slice with your morning coffee or a sturdy base for sandwiches, this recipe is tailor-made for you.
Why Homemade Bread is Worth It
There are numerous benefits to baking your own bread:
- Quality Control: You can choose the highest quality ingredients, without any hidden additives.
- Cost-Effective: While it might feel like a splurge, making bread at home can be more economical than purchasing artisanal loaves.
- Skill Building: With each batch, you'll learn valuable baking skills—perfect for impressing friends at your next brunch.
So, why wait? Dive into the world of bread-making. This easy milk bread loaf recipe breaks down the process into achievable steps, perfect for beginners and seasoned bakers alike. Join the community of home bakers and discover the joy of creating something delicious from scratch!
For more tips on baking, check out King Arthur Baking or explore The Bread Lab for innovative recipes and techniques.

Ingredients for Easy Milk Bread Loaf
When it comes to crafting the perfect easy milk bread loaf, having the right ingredients is key. Let’s break it down into essentials and optional extras that can elevate your loaf.
Essential ingredients for the perfect loaf
For a delightful loaf, you will need:
- Bread flour (500 g / 3¾ cups): This provides the structure, giving your bread that soft and airy crumb.
- Sugar (40 g / 3 tablespoons): A touch of sweetness that aids in browning and flavor.
- Instant yeast (1½ teaspoons): This helps the dough rise quickly and easily.
- Cold water (225 g / just under 1 cup) and cold milk (115 g / ½ cup): Using cold liquids helps achieve the ideal texture without overheating the dough.
- Sea salt (9 g / 1½ teaspoons): Enhances flavor and regulates yeast activity.
- Unsalted butter (25 g / 1¾ tablespoons): Adds richness and moisture, making your bread deliciously tender.
Optional ingredients for extra flavor
Want to take your easy milk bread loaf to the next level? Consider:
- Honey or malt syrup: For added sweetness and a unique flavor twist.
- Herbs (like rosemary or thyme): A sprinkle in the dough can bring a hint of earthiness.
- Cheese (like grated cheddar): For a savory touch, perfect for sandwiches.
- Nuts or seeds: Throw in some chopped nuts or seeds for added texture and nutrition.
Crafting this bread not only fills your home with an amazing aroma, but it also connects you with the joy of home baking. Happy baking! For more tips on bread-making, check out resources like King Arthur Baking and Food52.
Step-by-step preparation for Easy Milk Bread Loaf
Baking your own bread can feel like a daunting task, but with Easy Milk Bread Loaf, you’ll see that it’s both rewarding and fun! Here’s a step-by-step guide to help you through the process.
Making the dough
Start by gathering your ingredients: 500 g of bread flour, sugar, yeast, cold water, cold milk, sea salt, and unsalted butter. In a stand mixer, combine the bread flour, sugar, yeast, water, and milk. Knead this mixture on low speed until a dough forms. It's essential to let it rest for about 30 minutes. This resting period, often referred to as the “autolyse,” allows the flour to fully hydrate. During this time, take out your butter and cut it into four pieces to soften. Once rested, add the salt and continue kneading for another minute. Then mix in the butter pieces until your dough passes the windowpane test, meaning it stretches without tearing.
First rise and butter prep
After kneading, shape the dough into a ball and place it in a lightly greased bowl. Then, cover it with a cloth and let it rise in a warm place for about 1 hour, or until it's nearly doubled in size. This is the critical first rise that develops flavor and structure in your easy milk bread loaf. While the dough rises, you can prepare your workspace by lightly greasing your loaf pan with butter and flour to ensure your bread doesn’t stick later.
Shaping the dough
Once the dough has risen, transfer it to a clean working surface. Cut it into three equal pieces without pulling, as using a knife or bench scraper will keep the structure intact. Shape each piece into a ball and let them rest, covered, for 15 minutes. After resting, flatten each piece into an oval with a rolling pin, roll into a log, and repeat with the remaining dough. This step promotes even texture and a beautiful rise.
Second rise in the pan
Now comes the critical moment: place your shaped logs into the greased and floured loaf pan. Cover with greased plastic wrap and allow them to rise again in a warm location until they fill about 80-90% of the pan, which should take about 1 to 1.5 hours. This second rise is essential for achieving that light, airy texture in your easy milk bread loaf.
Baking to perfection
Preheat your oven to 375°F during the last 20 minutes of the second rise. When the dough is ready, bake it for 30-35 minutes. To prevent over-browning, loosely cover it with foil after 15 minutes. Once done, remove the bread from the oven and gently drop the pan from a height of about two inches onto the countertop. This helps prevent shrinkage. Let it cool on a rack, and remember to brush the top with melted butter for that irresistible finish! Enjoy your fresh, homemade bread!
By following these steps, you'll find that baking an easy milk bread loaf is not only simple but also incredibly satisfying. Happy baking!
![]()
Variations on Easy Milk Bread Loaf
Milk Bread with Herbs
Transform your easy milk bread loaf into a savory delight by adding fresh or dried herbs! Simply incorporate a tablespoon of your favorite herbs, like rosemary, thyme, or oregano, into the dough during the mixing stage. This adds a fragrant aroma and a burst of flavor that pairs beautifully with soups or as a sandwich base. If you're curious about more herbs that work well in bread, check out this guide on using fresh herbs.
Sweet Milk Bread Options
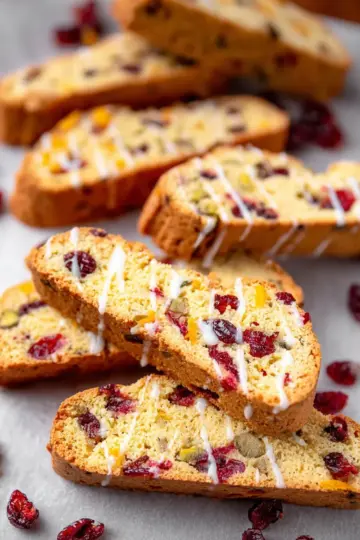
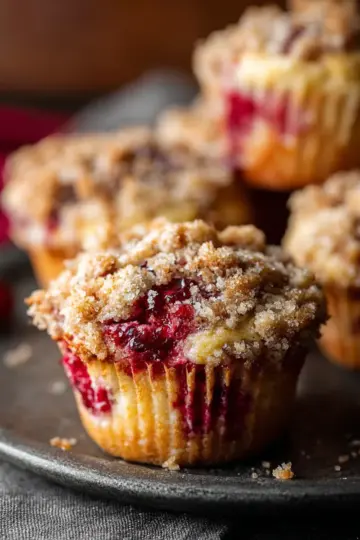
Craving something sweet? Get creative by adding a bit of brown sugar and a sprinkle of cinnamon to your dough. For extra sweetness, fold in chocolate chips, dried fruits, or nuts just before the final shaping. These sweet variations can turn your loaf into a delicious breakfast treat or a delightful afternoon snack. Consider brushing the top with a honey glaze or serving it with a smear of cream cheese for that extra touch of indulgence!
Cooking tips and notes for Easy Milk Bread Loaf
Tips for kneading and proofing
Creating the perfect Easy Milk Bread Loaf begins with proper kneading and proofing techniques.
-
Kneading: Use a stand mixer for a consistent texture, kneading until the dough passes the windowpane test. Don’t rush; this could take around 7-10 minutes depending on your mixer speed.
-
Proofing: Find a warm, draft-free place, ideally between 80°F - 90°F. If your kitchen is cool, try placing the dough in your oven with a bowl of hot water to create a cozy environment.
Remember, patience is key—allow your dough to rise until it’s almost doubled for that soft, fluffy result!
For more tips on mastering dough techniques, check out King Arthur Flour or delve into the art of bread-making.
Serving Suggestions for Easy Milk Bread Loaf
Ideal Pairings and Presentations
Your Easy Milk Bread Loaf is wonderfully versatile and can be served in numerous delightful ways. For breakfast, consider toasting slices and topping them with rich peanut butter or a spread of creamy avocado. How about making a delectable French toast for brunch? Just dip thick slices in a custard of eggs and milk, then fry until golden.
For lunch, layer slices with turkey bacon or chicken ham and fresh greens for a tasty sandwich. If you’re feeling gourmet, toast the bread and prepare a simple bruschetta topped with ripe tomatoes and basil.
Don’t forget the classic approach: serve it warm with a pat of butter or a drizzle of honey for that perfect afternoon treat. The key is to enjoy it fresh, as this enhances its soft, fluffy texture. Want more inspiration? Check out The Kitchn for more serving ideas and recipes!
Time Breakdown for Easy Milk Bread Loaf
Creating your own easy milk bread loaf can be a delightful experience. Here’s a quick time breakdown to help you plan your baking adventure:
Preparation Time
Approximately 15 minutes are needed to gather and mix your ingredients. It’s a simple process that sets the stage for the deliciousness to come!
Rise Time
Give your dough some love with about 1 hour for the first rise and an additional 1 to 1.5 hours after shaping. Patience is key here, allowing the dough to double and fill your kitchen with irresistible aromas.
Baking Time
Expect to spend about 30-35 minutes baking your loaf. Keep an eye on your creation as it transforms into golden perfection in the oven.
Total Time
In total, you're looking at around 3 hours from start to finish, including prep, leavening, and baking time. Trust me, the heavenly smell of fresh bread is worth every moment!
For more tips on baking, check out resources from King Arthur Baking and The Bread Baker's Guild.
Nutritional Facts for Easy Milk Bread Loaf
Understanding the nutritional profile of the easy milk bread loaf can help you make informed choices. This bread is not only a delightful treat but also provides essential nutrients!
Calories
Each slice of this easy milk bread loaf contains approximately 189 calories, making it a satisfying addition to your meals without overwhelming your daily intake.
Carbohydrates
With around 35 grams of carbohydrates per slice, this bread is a great source of quick energy, perfect for fueling your busy day.
Protein
Each slice delivers about 6 grams of protein, which is essential for muscle repair and overall health. Pair it with some protein-rich toppings to enhance its nutritional value!
Fat
This loaf contains about 3 grams of fat, which includes 1 gram of saturated fat. It’s a light option that won’t stray too far from a balanced diet. If you're curious about healthy fats, check out this Harvard Health article for more information.
Enjoy indulging in your lovely milk bread while keeping your nutrition in check!
FAQs about Easy Milk Bread Loaf
Can I use whole wheat flour?
Absolutely! You can substitute whole wheat flour for some of the bread flour in this easy milk bread loaf recipe. Keep in mind that whole wheat flour absorbs more liquid, so you may need to adjust the amount of water and milk slightly to achieve the right dough consistency. A 50-50 blend is a good starting point if you want to maintain that light and fluffy texture!
How do I store the bread?
To keep your easy milk bread loaf fresh, store it at room temperature in a bread box or wrapped in a clean kitchen towel. If you want to preserve it for a longer time, consider slicing the loaf and storing it in an airtight container in the freezer. Just pop it in the toaster when you're ready to enjoy a slice!
What if my dough doesn't rise?
If your dough doesn't rise, it could be due to inactive yeast. Make sure your yeast isn't expired, and always check your water and milk temperatures, as too hot or cold can kill the yeast. If you're in a cooler environment, try placing your covered bowl in a warm spot, like an oven with just the light on, to promote rising. Don't lose hope—everyone faces a baking challenge now and then!
Conclusion on Easy Milk Bread Loaf
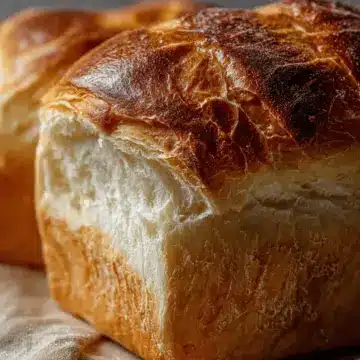
In wrapping up this delightful journey into baking an easy milk bread loaf, it’s time to embrace the warm, comforting aroma wafting from your oven. This bread not only boasts a soft texture perfect for any meal but also offers a rewarding baking experience. Enjoy!
Easy Milk Bread Loaf
Equipment
- stand mixer
- Loaf pan
- Rolling Pin
Ingredients
Main Ingredients
- 500 g bread flour 3¾ cup
- 40 g sugar 3 tablespoons
- 1.5 tsps instant yeast
- 225 g cold water a little bit less than 1 cup
- 115 g cold milk ½ cup
- 9 g sea salt 1½ tsp
- 25 g unsalted butter 1¾ tbsp
Others
- butter for coating the pan and brushing the bread
- flour for coating the pan
Instructions
Making Bread Dough
- Mix bread flour, sugar, yeast, water and milk in a stand mixer, kneading on low speed until the dough is formed.
- Cover the mixing bowl and let it rest for 30 minutes. Meanwhile, bring the butter out from the fridge, cut it into 4 pieces and leave it on the counter to soften a little.
- Add salt and continue to knead the dough for 1 minute.
- Add butter cubes and knead until the dough passes the windowpane test.
- Form the dough into a ball (it will be a bit sticky) and put it in a lightly greased bowl. Cover and let it rise in a warm place for 1 hour until it almost doubles in size.
Shaping
- Transfer the dough onto a working surface and cut it into 3 even pieces. Form each piece into a ball. Cover the dough balls with a damp dish towel or greased plastic wrap, allowing them to rest for 15 minutes.
- Roll the dough out with a rolling pin to an oval shape and then roll it up to a log, do the same for the other two pieces, cover and let it rest for another 15 minutes.
- For each log, rotate the dough 90 degrees before rolling them out again into long rectangles and rolling each rectangle back up into a cinnamon roll type of shape.
- Grease a 10 x 5 loaf pan and coat with a thin layer of flour. Put the rolled up dough into the pan, cover with greased plastic wrap and let it rise in a warm place until it fills 80-90% of the pan.
Baking
- Preheat the oven to 375°F in the last 20 minutes of proofing.
- Put it in the oven to bake for 30-35 minutes. Loosely cover with a piece of foil after baking for 15 minutes.
- Remove bread from the oven and drop the pan on the counter top once to help prevent it from shrinking, then transfer the bread on a cooling rack.
- Brush the top with melted butter and let it cool for 15 minutes before enjoying.
Leave a Reply