
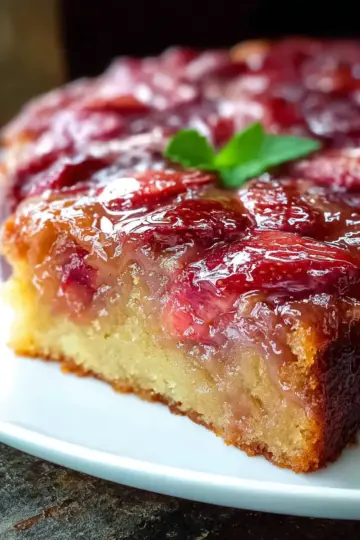
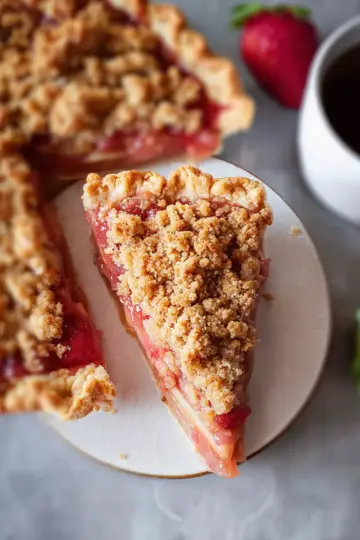
Classic Apple Crisp Recipe — A Heartwarming Delight
What Makes a Classic Apple Crisp So Special?
There’s something undeniably comforting about a classic apple crisp recipe. It's a dish that brings warmth and nostalgia, often evoking memories of family gatherings and cozy autumn evenings. What sets this dessert apart is its beautiful balance of flavors and textures. The tartness of fresh apples combined with the sweetness of brown sugar and warm spices creates a heavenly filling, while the crispy oat topping adds that satisfying crunch.
Traditionally made with Granny Smith or Honeycrisp apples, this recipe allows for variations depending on personal taste. Mixing different apple varieties enhances the depth of flavor, giving your crisp its unique character. Plus, it’s incredibly easy to make—perfect for both novice bakers and seasoned pros.
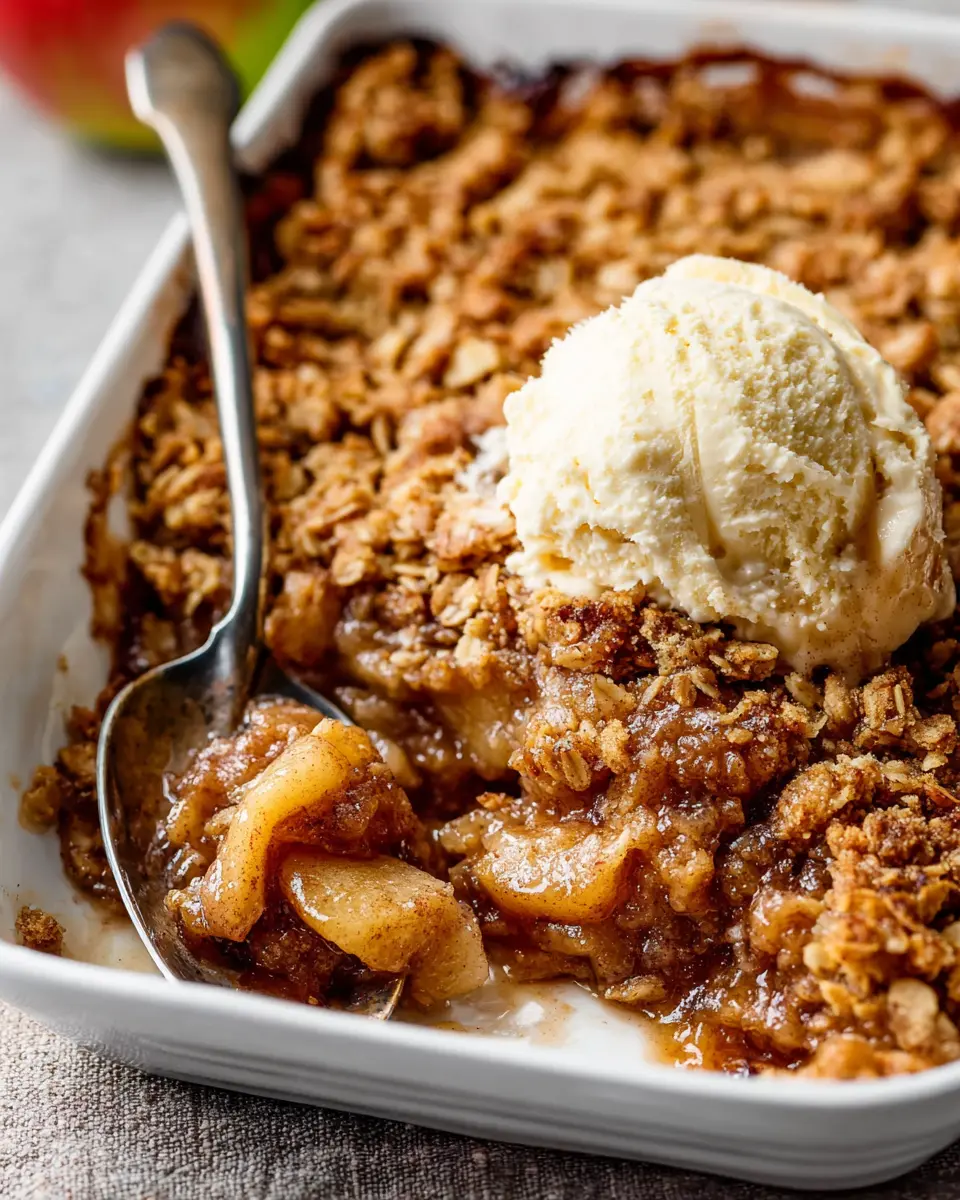
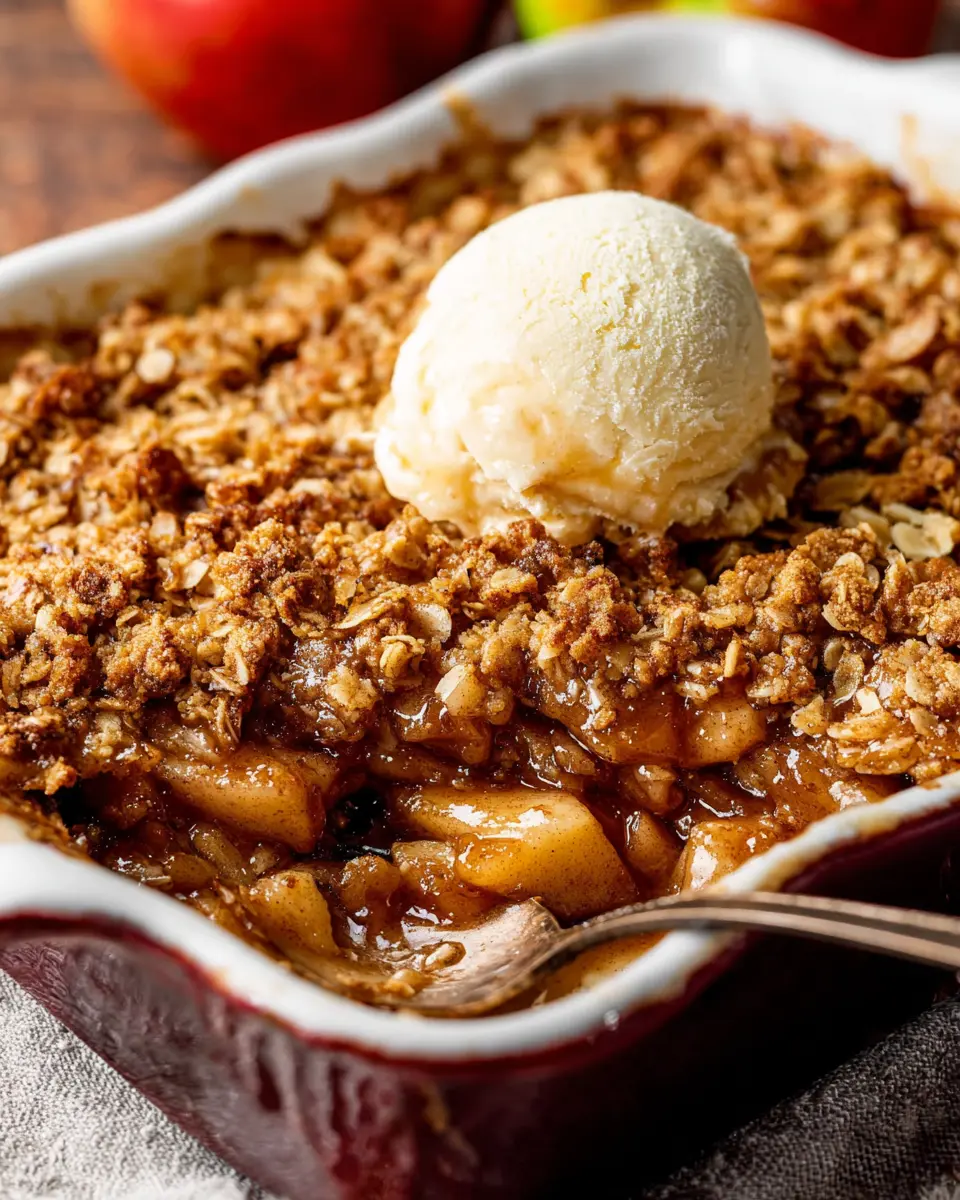
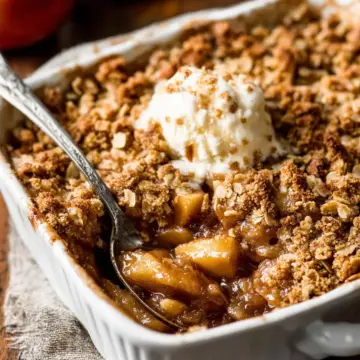
One of my favorite touches? Serving it warm, topped with a scoop of vanilla ice cream or a drizzle of salted caramel—it truly elevates the experience! Whether it's for a holiday feast or a casual weeknight treat, this classic apple crisp is sure to bring smiles and delight to the table, making it a timeless favorite in many homes. If you're looking for a heartwarming dessert that’s effortless yet impressive, this is it!
For the full recipe, hop on over to our section on classic apple crisp preparation. Let’s get baking!
Ingredients for Classic Apple Crisp
Creating the perfect classic apple crisp recipe starts with selecting fresh and flavorful ingredients. Here’s a breakdown to help you gather everything you'll need for that cozy dessert many love!
Filling Ingredients
For the delicious filling, you’ll need:
- 8 medium apples: Choose fresh, firm varieties like Granny Smith for a tart kick or Honeycrisp for sweetness.
- ½ cup brown sugar: This adds depth and moisture to your filling.
- ¼ cup all-purpose flour: Helps thicken the mixture as it bakes.
- 1 teaspoon pure vanilla extract: Elevates the flavor beautifully.
- 1 teaspoon ground cinnamon: A classic spice for that warm, autumnal taste.
- ½ teaspoon ground nutmeg: Enhances the apple flavor with a hint of warmth.
- ¼ teaspoon salt: Balances the sweetness.
Topping Ingredients
Don’t forget the crumbly topping! Gather these ingredients:
- ¾ cup all-purpose flour: The base for your crumble.
- ¾ cup brown sugar: For that irresistible caramelized flavor.
- 1 teaspoon ground cinnamon: Reinforces the cozy notes of your classic apple crisp.
- ½ cup unsalted butter: Must be cold and cubed; this is key to a fluffy texture.
- 1 cup old-fashioned oats: Adds chewiness and heartiness.
Feel free to explore options like salted caramel or serve it warm with vanilla ice cream for that extra touch!
Preparing Classic Apple Crisp
Making a classic apple crisp is one of the simplest delights in the kitchen. Whether you're preparing for a cozy night in or a dinner party, following these steps will lead you to a deliciously spiced, bubbling dessert that pairs perfectly with vanilla ice cream. Let’s dive in!
Preheat the oven and prepare the baking dish
Start by preheating your oven to 350°F (177°C). While your oven warms up, grab a 9×13-inch baking pan or any suitable dish that holds around 3.5 to 4 quarts. Lightly grease it to prevent any sticking—this will make cleanup a breeze later on!
Mix the filling ingredients
In a large mixing bowl, toss together your sliced apples (about 10 cups) with brown sugar, all-purpose flour, vanilla extract, ground cinnamon, nutmeg, and a pinch of salt. These ingredients work together to create a delicious, sweet-tart filling. Make sure everything is well coated, as this will help the flavors meld as it bakes!
Prepare the crumbly topping
Next, it’s time to create that irresistible topping! In a medium bowl, whisk together flour, brown sugar, and cinnamon. Use a pastry cutter or a fork to incorporate the cold, cubed unsalted butter into the dry mix, until the mixture resembles coarse crumbs. Stir in the rolled oats; these add a wonderful texture! Sprinkle this topping generously over your apple filling, ensuring even coverage for that perfect crispness.
Combine and layer the crisp
Once you have the filling and topping ready, it’s time to combine them. Spread the apple filling in your prepared baking dish, then evenly distribute the crumbly topping over the apples. The layering is crucial, as it affects both the presentation and the texture of your baked crisp.
Bake to perfection
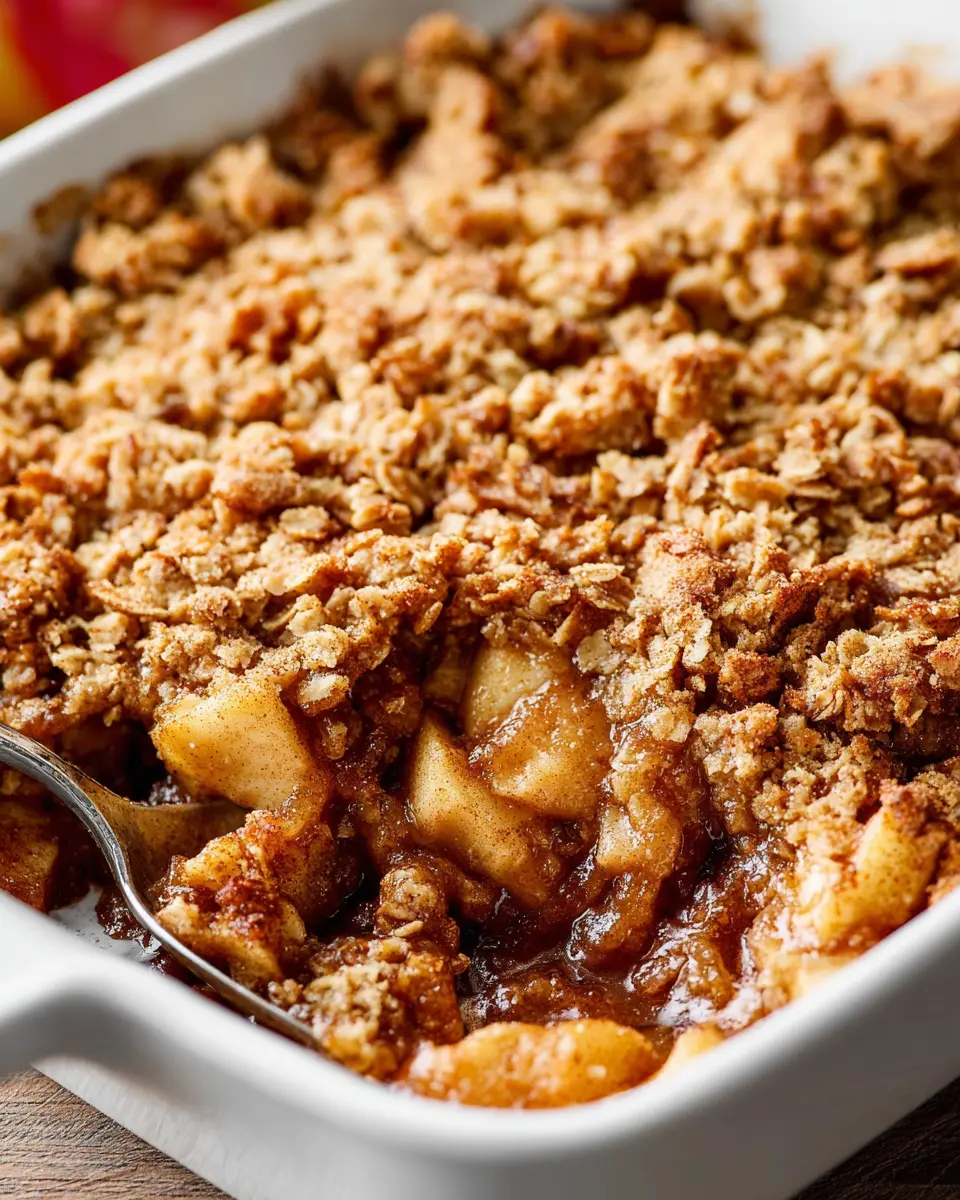
Pop your masterpiece into the preheated oven and bake for 45 minutes or until the topping is golden brown and the apple juices are bubbling up around the edges. Your kitchen will soon be filled with the warm, inviting aroma of baked apples and spices. For the best experience, let it cool for about 5 minutes before serving, and consider drizzling with salted caramel or a scoop of creamy vanilla ice cream (optional, but highly recommended!).
Now you’re all set to impress with your classic apple crisp recipe! Enjoy this heartwarming dessert, and don’t forget—leftovers can be stored in the fridge for up to five days!
For tips on choosing the best baking apples, check out this helpful guide. Remember, a great apple crisp starts with fantastic ingredients!
Variations on Classic Apple Crisp
Adding nuts for a crunchy twist
Elevate your classic apple crisp recipe by incorporating nuts into the topping. Chopped pecans or walnuts add not just crunch but also depth to the flavors. Simply stir in about one cup of your favorite nuts with the oats before you sprinkle the topping over your apples. The nuttiness pairs beautifully with cinnamon and apples, making each bite a delightful combination of textures.
Using different fruits for a flavor explosion
Why stick to apples? Experiment with different fruits to create your own unique crisp! Pears, peaches, or even berries can add unexpected twists and layers of flavor. For a burst of tartness, mix in some cranberries or cherries. Just remember to adjust the sugar levels based on the sweetness of your chosen fruits. This way, you’ll still achieve that perfect balance in your classic apple crisp recipe.
Feel free to get creative — the possibilities are endless!
Cooking Tips and Notes for Classic Apple Crisp
Choosing the Best Apples
When it comes to your classic apple crisp recipe, choosing the right apples is crucial for achieving that perfect balance of tart and sweet. Look for firm varieties such as Granny Smith, Honeycrisp, or Pink Lady. They hold up well during baking and provide that delightful contrast to the crunchy topping. For a truly harmonious flavor, consider mixing varieties; combining the tartness of Granny Smith with the sweetness of Honeycrisp can elevate your dish!
Storing and Reheating Leftovers
If you find yourself with leftover apple crisp (a rare occurrence!), store it in an airtight container in the refrigerator for up to five days. For the best reheating experience, simply pop it in a preheated oven at 350°F (177°C) for about 15-20 minutes until warmed through. Enjoy it just as delicious as the first time! If you want to prepare ahead, check out our guide on make-ahead tips for more detailed instructions on freezing and reheating.
Serving Suggestions for Classic Apple Crisp
Pairing with Ice Cream
Serving your classic apple crisp recipe alongside a generous scoop of vanilla ice cream is a match made in dessert heaven. The creamy, cool texture of the ice cream perfectly offsets the warm, cinnamon-spiced apples. For an added twist, consider using caramel or cinnamon ice cream to enhance the dessert experience. As the ice cream melts, it creates a delightful creamy sauce that seeps into the crisp—pure bliss!
Serving with Salted Caramel
Elevate your classic apple crisp by drizzling it with homemade salted caramel. The rich, buttery flavor of the caramel adds a luxurious touch to the dish. Just warm the caramel slightly to achieve a smooth pour, and watch as it pools around the crisp. This combination of sweet and salty will tantalize your taste buds, ensuring each bite is heavenly. For a fun presentation, consider topping it off with a sprinkle of sea salt!
Time Breakdown for Classic Apple Crisp
Preparation Time
The prep time for this classic apple crisp recipe is approximately 15 minutes. This includes peeling, chopping the apples, and mixing both the filling and the topping ingredients – a quick process that lets you dive right into the deliciousness!
Baking Time
Once your crisp is assembled, pop it into a preheated oven at 350°F (177°C) for about 45 minutes. It’s the perfect time to savor the comforting aroma of baking apples and cinnamon filling your kitchen.
Total Time
Overall, you’ll spend around 1 hour on this classic apple crisp from start to finish. In no time, you’ll have a warm, golden dessert ready to impress your friends and family!
For more insights on ingredient selection, here’s a resource on the best apples for baking. Happy baking!
Nutritional Facts for Classic Apple Crisp
Estimated calories per serving
A single serving of this delightful classic apple crisp recipe comes in at about 200 calories. It's a delicious way to satisfy your sweet tooth without going overboard.
Key nutrients
This apple crisp provides essential nutrients like fiber, thanks to the oats and apples. You’ll also find healthy fats from the butter, plus a dose of Vitamin C from the apples. Enjoy this wholesome treat as part of a balanced diet!
For those looking for even more health benefits, consider using whole oats, which are higher in nutrients than instant oats. They can help keep you fuller for longer. Check out the nutritional benefits of oats here for some compelling reasons to include this ingredient!
If you're wondering how this dessert stacks up against other popular treats, the fiber from the apples and oats can make it a better option than many overly sweetened desserts. Just remember to enjoy it in moderation alongside a balanced meal.
FAQs about Classic Apple Crisp
What type of apples are best for apple crisp?
When it comes to making a mouth-watering classic apple crisp, the choice of apples is crucial. Firm and tart varieties like Granny Smith or Honeycrisp work wonders. If you prefer a sweeter taste, consider mixing in Pink Lady or Jazz apples. The combination of tart and sweet apples adds depth and balance to your dish!
Can I make apple crisp ahead of time?
Absolutely! One of the best things about this classic apple crisp recipe is that it can be prepared in advance. You can assemble the crisp up to a day before baking and store it in the refrigerator. Alternatively, you can prep, freeze the unbaked crisp, and pop it in the oven directly from the freezer when the craving hits.
How do I store leftover apple crisp?
If you have leftovers (which is rare!), just cover them well and store them in the refrigerator for up to five days. To reheat, simply warm it in the oven or microwave. Want to learn more about storing baked goods? Check out this guide on food storage techniques.
Conclusion on Classic Apple Crisp
Making apple crisp at home is a delightful experience! The sweet aroma fills your kitchen, promising warmth and comfort. This classic apple crisp recipe not only brings friends and family together but also allows you to customize flavors to suit your taste. Enjoy a slice topped with ice cream or caramel for a truly indulgent treat!
Why You’ll Love Making Apple Crisp at Home
Crafting your own classic apple crisp is not just about the end result—it's about the entire process! Here’s why you'll fall in love with it:
- Freshness: Using seasonal apples means you'll enjoy the richest flavors and freshest ingredients.
- Customization: You control the sweetness and spices, allowing for a personal touch with every batch. Try different apple varieties for new flavor profiles!
- Simplicity: The steps are straightforward, making it an excellent choice for both novice and experienced bakers. You can whip this up without any elaborate equipment.
- Family Bonding: Baking together can be a great way to create memories with loved ones. Share stories and laughter as you prepare this delicious dessert!
- Versatility: Serve it warm for a cozy dessert or cold as a refreshing treat. Pair it with vanilla ice cream or salted caramel for an extra indulgence!
For more tips on baking techniques and ingredient substitutions, check out resources from experts like Sally's Baking Addiction or the Joy of Baking.
So grab those apples and start baking your own classic apple crisp today—it’s a decision you won’t regret!
Classic Apple Crisp Recipe
Equipment
- 9x13 inch baking pan
- Mixing Bowl
- Whisk
- pastry cutter
- Cooling Rack
Ingredients
Filling
- 8 medium apples peeled, cut into 1-inch chunks, about 10 cups
- 0.5 cup brown sugar packed, light or dark
- 0.25 cup all-purpose flour spooned & leveled
- 1 teaspoon pure vanilla extract
- 1 teaspoon ground cinnamon
- 0.5 teaspoon ground nutmeg
- 0.25 teaspoon salt
Topping
- 0.75 cup all-purpose flour spooned & leveled
- 0.75 cup brown sugar packed, light or dark
- 1 teaspoon ground cinnamon
- 0.5 cup unsalted butter cold, cubed
- 1 cup whole rolled oats old-fashioned
Optional
- salted caramel for serving
- vanilla ice cream for serving
Instructions
Instructions
- Preheat oven to 350°F (177°C). Lightly grease a 9×13-inch baking pan.
- Mix all of the filling ingredients together in a large bowl, then spread into the baking pan.
- Make the topping: Whisk the flour, brown sugar, and cinnamon together in a medium bowl. Cut in the butter using a pastry cutter or fork until the mixture becomes super crumbly. Stir in the oats. Sprinkle over filling.
- Bake for 45 minutes or until the topping is golden brown and the fruit juices are bubbling around the edges. Remove from the oven, place on a wire rack, and allow to cool for at least 5 minutes before serving.
- Serve warm, room temperature, or cold; plain or with salted caramel and/or vanilla ice cream.
- Cover leftovers and store in the refrigerator for up to 5 days.


Leave a Reply