
Introduction to Apple Pie Bars
Why Apple Pie Bars are the Perfect Homemade Treat
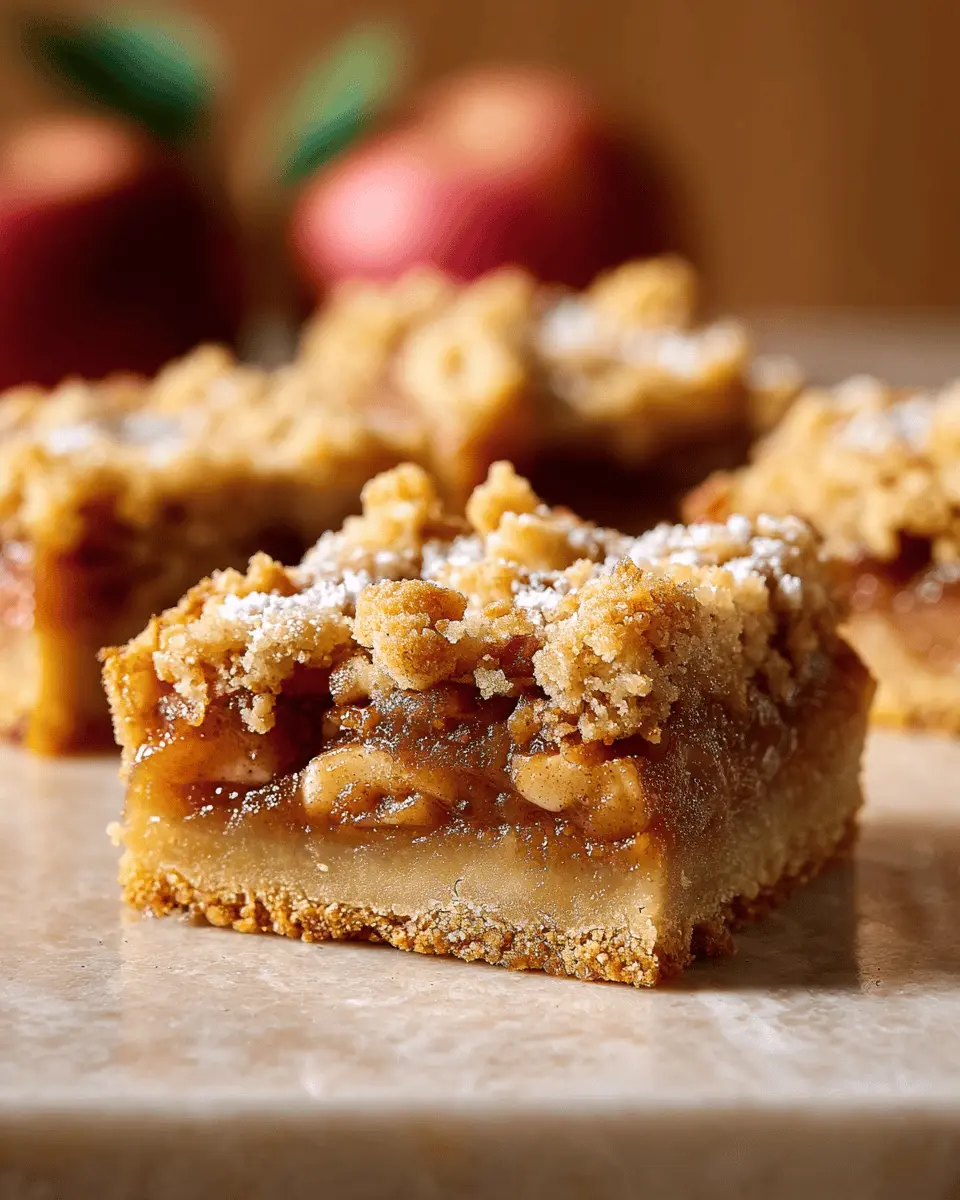
If you’re a fan of classic apple pie, but crave a more modern twist, then apple pie bars are about to become your new favorite dessert! These delightful bars combine all the comforting flavors of traditional apple pie, but with a simpler, more portable format. Perfect for gatherings, lunchboxes, or just a cozy night in, apple pie bars invite everyone to indulge in their sweet, cinnamon-spiced goodness.
Creating these bars is an engaging way to spend an afternoon, and the recipe is straightforward enough for even novice bakers. You can also customize the filling by experimenting with different apple varieties or adding your favorite nuts or dried fruits. The crust and crumbly topping are made from pantry staples like flour, sugar, and butter, making this a treat that requires minimal fuss.
What’s more, the lovely aroma that fills your kitchen as these bars bake is enough to evoke childhood memories of family gatherings and holiday celebrations. So gather some friends, roll up your sleeves, and let’s dive into making these deliciously easy apple pie bars! You can check out more tips and tricks for perfect baking at King Arthur Baking.
Ingredients for Apple Pie Bars
Essential ingredients for the crust
To create a delectable base for your apple pie bars, you’ll need just a few key ingredients. Start with 8 tablespoons of unsalted butter at room temperature for that rich flavor. Next, add ¼ cup plus 2 tablespoons of light brown sugar, which will provide a hint of sweetness. The backbone of our crust is 1 ¼ cups of all-purpose flour. If you prefer a gluten-free option, you can substitute with gluten-free flour. Don’t forget ½ teaspoon of table salt to enhance the flavors!
Key ingredients for the filling
Now onto the delightful filling! Your apple pie bars will shine with 6 cups of peeled and diced apples—about 6 to 8 medium apples, depending on their size. 2 tablespoons of lemon juice adds a zesty kick, while 2 tablespoons of unsalted butter help to caramelize the apples. For a touch of autumn flavor, you’ll need 2 teaspoons of apple pie spice, paired with ¾ cup of granulated sugar for the perfect sweetness balance.
Must-have ingredients for the topping
To cap off these apple pie bars, the topping is essential for that satisfying crunch. Gather ½ cup of all-purpose flour (or its gluten-free counterpart), ¼ cup of light brown sugar, and ½ teaspoon of apple pie spice or cinnamon for an extra warmth. Finally, mix in 4 tablespoons of cold unsalted butter, cut into small cubes. The combination will bake into a lovely crumble that’s impossible to resist!
Feel inspired? Let’s get baking! For another tasty recipe, check out this guide on pie-making.
Preparing Apple Pie Bars
Making Apple Pie Bars is a wonderful way to enjoy the flavor of classic apple pie without the fuss of pie crusts. Follow these simple steps, and you’ll have a batch of tasty apple-filled bars that will impress your friends and family!
Preheat the oven and prepare the pan
Start by preheating your oven to 325°F. This is the perfect temperature to create a perfectly baked crust. While it’s heating up, line your 8" square pan with a parchment sling and lightly grease it. This will make it so much easier to lift out your finished bars later on!
Create the crust
In a medium bowl (or a stand mixer if you have one handy), beat together 8 tablespoons of unsalted butter and brown sugar until smooth, about 30 seconds. Then, add 1 ¼ cups of all-purpose flour and ½ teaspoon of salt. Mix until the dough is crumbly but holds together when squeezed—this is your crust!
Once ready, transfer the crust mixture to the prepared pan and press it evenly into the bottom. This may feel a bit like a workout, but a firm base is essential for delicious apple pie bars!
Bake the crust to a golden perfection
After pricking the crust with a fork to prevent bubbling, pop it in the oven for 15 to 20 minutes. You're looking for that lovely golden hue that signals deliciousness. While it bakes, you can get your filling ready.
Make the apple filling
For the filling, you’ll need about 6 cups of diced apples (from 6 to 8 medium apples). Toss them in a large bowl with 2 tablespoons of lemon juice to keep them fresh. In a skillet, melt 2 tablespoons of butter over medium-high heat. Add in some spice with 2 teaspoons of apple pie spice, then add the apples. Cook them for about 5 minutes until they begin to soften a bit.
Next, sprinkle ¾ cup of granulated sugar over the apples, stirring it in well. Cook until the mixture thickens and most of the liquid evaporates—this is where the true magic happens!
Prepare the crumbly topping
While the filling cools, let's make that irresistible crumbly topping. Combine ½ cup of flour, ¼ cup of brown sugar, and ½ teaspoon of apple pie spice in a medium bowl. Cut in 4 tablespoons of cold butter until it resembles coarse crumbs.
Assemble the bars before baking
Once everything is ready, spread your apple filling evenly over the warm crust. So tempting already! Then, sprinkle that wonderful crumbly topping on top.
Bake and cool the Apple Pie Bars
Place the assembled pan in the oven at 350°F for 35 to 40 minutes, until the topping is lightly golden. After baking, let the bars cool completely in the pan before lifting them out. Slice them into squares, and watch as everyone falls in love with your homemade Apple Pie Bars!
Remember, they can be stored at room temperature, perfect for quick treats throughout the week or at your upcoming gatherings. Enjoy!
Variations on Apple Pie Bars
Caramel Apple Pie Bars
If you're craving something extra indulgent, try making Caramel Apple Pie Bars. Simply drizzle homemade or store-bought caramel sauce over the apple filling before adding the topping. This sweet addition creates a delightful contrast with the spiced apples, offering a rich flavor that makes every bite irresistible. You can even sprinkle some sea salt on top for a sweet-and-salty twist!
Gluten-Free Apple Pie Bars
For those with gluten sensitivities, Gluten-Free Apple Pie Bars are an easy and delicious alternative. Swap out all-purpose flour for the King Arthur Gluten-Free Measure for Measure Flour in the crust and topping. You'll still enjoy the same tender texture and delightful spices without sacrificing flavor. Plus, no one will ever guess these bars are gluten-free!
Baking notes for Apple Pie Bars
Common mistakes to avoid
When making apple pie bars, there are a few pitfalls to steer clear of. First, don’t skip the “docking” step for your crust; this helps prevent bubbling. Also, be sure to watch the apple cooking time—you want them slightly firm so they don’t turn mushy in the oven. Lastly, avoid using overly ripe apples, as they may become too soft during baking.
Tips for achieving the best texture
To get those perfectly chewy and crispy apple pie bars, use cold butter in your topping for a delightful crumble. Additionally, allow the bars to cool completely in the pan before slicing; this helps them hold their shape better. For an extra zing, try including a bit of lemon zest in the filling for brightness—your friends will love it! Happy baking!
Serving suggestions for Apple Pie Bars
Ideal accompaniments for your homemade bars
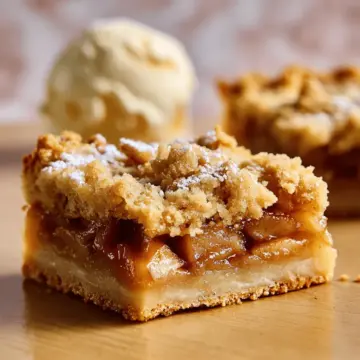
Elevate your apple pie bars experience with a few delicious accompaniments. A scoop of vanilla ice cream can add a creamy touch, while a dollop of whipped cream introduces a lightness that pairs beautifully with the warm spice of the bars. For a twist, consider serving them with a drizzle of caramel sauce or a sprinkle of toasted pecans for added crunch and flavor.
Creative serving ideas for gatherings
When it comes to sharing your apple pie bars with friends, presentation is key! Slice the bars into bite-sized pieces for easy sharing at potlucks or parties. Arrange them on a decorative platter, perhaps with a side of cinnamon spiced whipped cream for guests to dip into. You might even set up a mini dessert bar—think toppings like crushed graham crackers, mini chocolate chips, or even a fresh fruit compote to complement every bite. Your guests will love the interactive and customizable experience!
Tips for Making Perfect Apple Pie Bars
Ingredient Suggestions for Enhanced Flavor
To elevate your apple pie bars, consider adding diverse varieties of apples like Honeycrisp or Granny Smith for complexity in flavor. A touch of vanilla extract or mulled apple cider can also enhance the aroma and richness. For added depth, mix in some dried cranberries or walnuts for texture and a delightful twist!
Timing Tips for Perfect Baking
Precision is key! Ensure that your crust is baked until it’s lightly golden, about 15-20 minutes, before layering it with the apple filling. Keep an eye on the baking time for the entire dish; 35-40 minutes at 350°F will yield that desired golden topping. Allow the bars to cool completely in the pan for easy slicing. Happy baking!
For more baking tips, check out King Arthur Baking Company’s blog for expert advice!
Time details for Apple Pie Bars
Preparation time
Get ready to immerse yourself in the delightful world of baking! The preparation for these Apple Pie Bars takes about 25 minutes. This includes prepping your crust and filling, along with just enough time to experience that warm, fragrant embrace of cinnamon and apples!
Baking time
Once you've assembled the bars, they will need 35 to 40 minutes in the oven. This is when the magic really happens, transforming your ingredients into an irresistible dessert that fills your kitchen with mouthwatering aromas.
Total time
In total, you should set aside 1 hour and 5 to 10 minutes for this entire scrumptious process—from prep to the final baked goodness. Perfect for a leisurely Saturday or an evening wind-down after work. You'll be delighted once you take that first bite!
Nutritional information for Apple Pie Bars
Calories per serving
Each serving of these delicious Apple Pie Bars contains approximately 200 calories, making them a delightful treat you can enjoy without straying too far from your dietary goals.
Sugar content
With about 12 grams of sugar per serving, these bars strike a balance between sweetness and flavor. Opting for less sugar allows you to enjoy that buttery crust and spiced apple filling even more!
Fiber content
These Apple Pie Bars offer about 2 grams of fiber per serving, thanks to the apples and whole ingredients in the crust. Incorporating fiber into your snacks helps keep you fuller longer, making these bars not just tasty but also somewhat nutritious!
For more information and detailed nutrition facts, check out the Nutrition Information page.
FAQs about Apple Pie Bars
Can I use different types of apples?
Absolutely! The beauty of apple pie bars lies in their versatility. You can mix and match your favorite apple varieties for a unique flavor profile. For a classic taste, consider using Granny Smith apples for their tartness alongside sweeter options like Fuji or Honeycrisp. This mix gives the filling a well-rounded sweetness that’s hard to resist. For more tips on apple varieties, check out this helpful guide.
How long can I store Apple Pie Bars?
Stored properly, your delicious apple pie bars can last up to 4 days at room temperature when well-wrapped. Want to keep them longer? Freeze them for up to 3 months! Just ensure to wrap them tightly in plastic wrap or aluminum foil, followed by a layer of airtight storage bag for the best results.
What’s the best way to reheat Apple Pie Bars?
To reheat your apple pie bars, simply pop them in a preheated oven at 350°F for about 10-15 minutes. This method maintains their crispy topping while warming the apple filling. If you're on the go, a quick 30 seconds in the microwave works too, but be cautious not to overheat! Enjoy every delicious bite!
Conclusion on Apple Pie Bars
The joy of savoring homemade Apple Pie Bars
There's something truly delightful about indulging in homemade Apple Pie Bars. They bring a warm, comforting taste of fall right to your kitchen, making them perfect for gatherings or enjoying with a cozy cup of tea. Your friends and family will appreciate the effort, and trust us, they'll keep coming back for seconds! To explore more about baking and tips for creating delectable desserts, check out King Arthur Baking's resources. Enjoy your baking adventure!
Apple Pie Bars: Easy Indulgence for Your Home Baking Cravings
Equipment
- 8-inch square pan
- stand mixer
- medium bowl
- Large Skillet
Ingredients
Crust
- 8 tablespoons unsalted butter at room temperature
- ¼ cup light brown sugar packed
- 1 ¼ cups all-purpose flour or gluten-free measure for measure flour
- ½ teaspoon table salt
Filling
- 6 cups apples peeled and diced in ½" pieces
- 2 tablespoons lemon juice
- 2 tablespoons unsalted butter
- 2 teaspoons apple pie spice
- ¾ cup granulated sugar
Topping
- ½ cup all-purpose flour or gluten-free measure for measure flour
- ¼ cup light brown sugar packed
- ½ teaspoon apple pie spice or cinnamon
- 4 tablespoons unsalted butter cold; cut into ¼" cubes
Instructions
Bake Mode
- Preheat the oven to 325°F with a rack in the center. Line an 8" square pan with a parchment sling and lightly grease the parchment.
- To make the crust: In a medium bowl or the bowl of a stand mixer, beat the butter and brown sugar on medium speed until smooth, about 30 seconds. Add flour and salt, beating on low speed until crumbly. Press the mixture into an even layer in the prepared pan.
- Prick the dough all over with a fork.
- Bake the crust for 15-20 minutes until lightly golden. Remove, increase oven temperature to 350°F, and allow crust to cool slightly.
- To make the filling: In a large bowl, combine apples and lemon juice. In a skillet, melt butter over medium-high heat, add spice, then stir.
- Add apples to the skillet and stir to coat. Cook for about 5 minutes until they begin to soften.
- Sprinkle sugar over apples and stir, cooking for 6-10 minutes until most liquid evaporates. Remove from heat and allow to cool.
- To make the topping: In a medium bowl, combine flour, brown sugar, and spice. Add butter, working it into the mixture until crumbly.
- To assemble and bake: Spread the apple filling over the crust evenly, then top with the crumbly topping.
- Bake for 35-40 minutes until topping is light golden. Allow to cool completely before slicing and serving.
- Store leftovers wrapped at room temperature for several days, or freeze for longer storage.

Leave a Reply