
Introduction to Banana Pudding
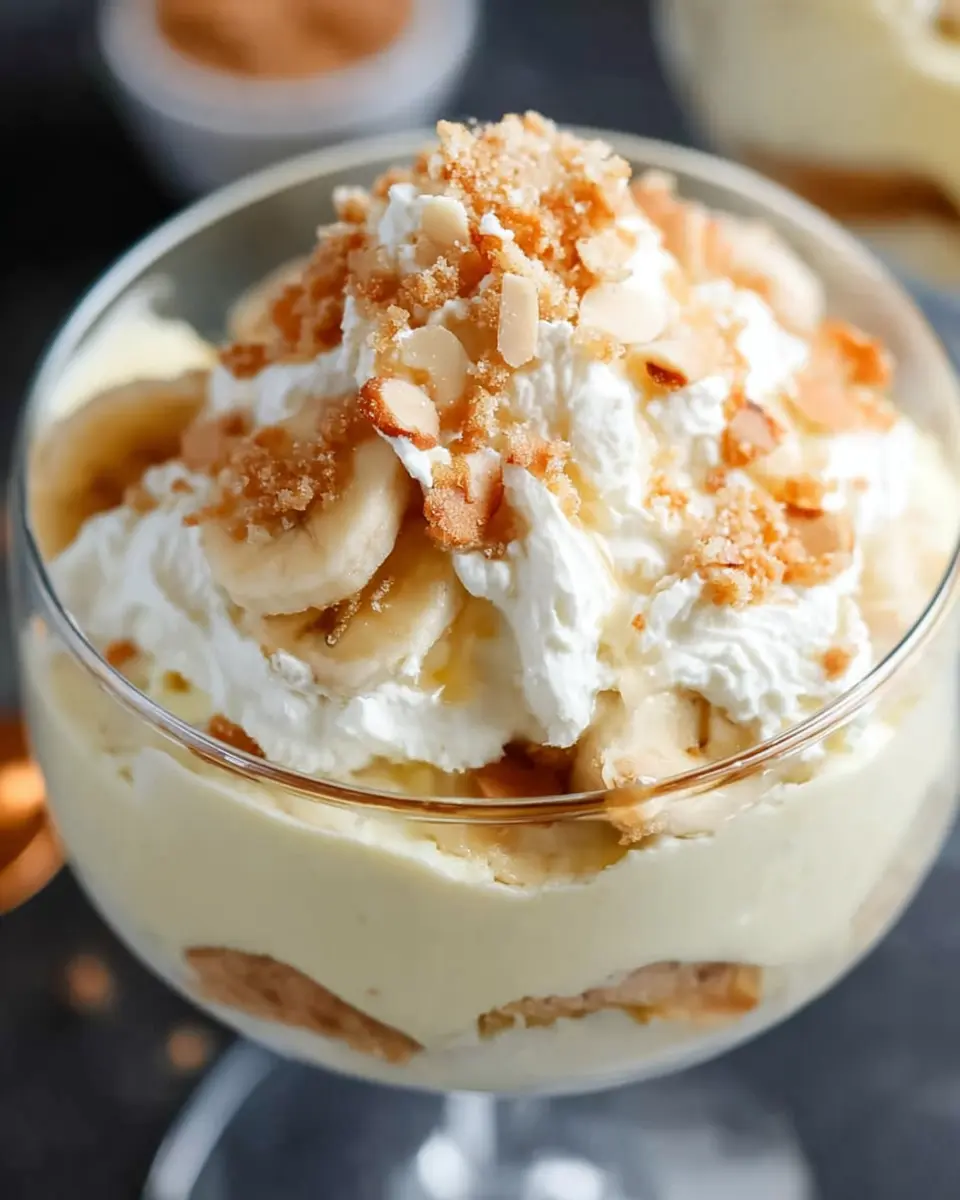
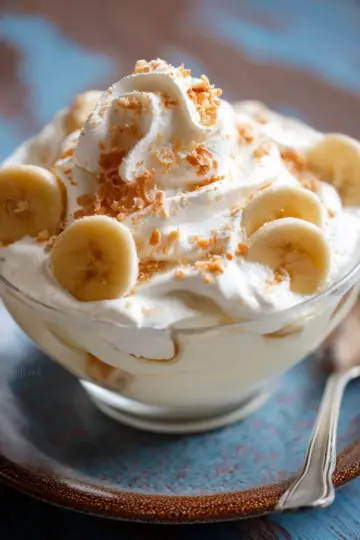
Banana pudding is more than just a classic dessert; it's a nostalgic treat that brings comfort and warmth to any gathering. When you think of banana pudding, images of layered goodness filled with creamy custard, crisp vanilla wafers, and ripe bananas likely come to mind. It's a dessert that's not only easy to make but also a guaranteed crowd-pleaser—perfect for potlucks, family gatherings, or even just a cozy night in.
Why Banana Pudding is the Perfect Homemade Dessert?
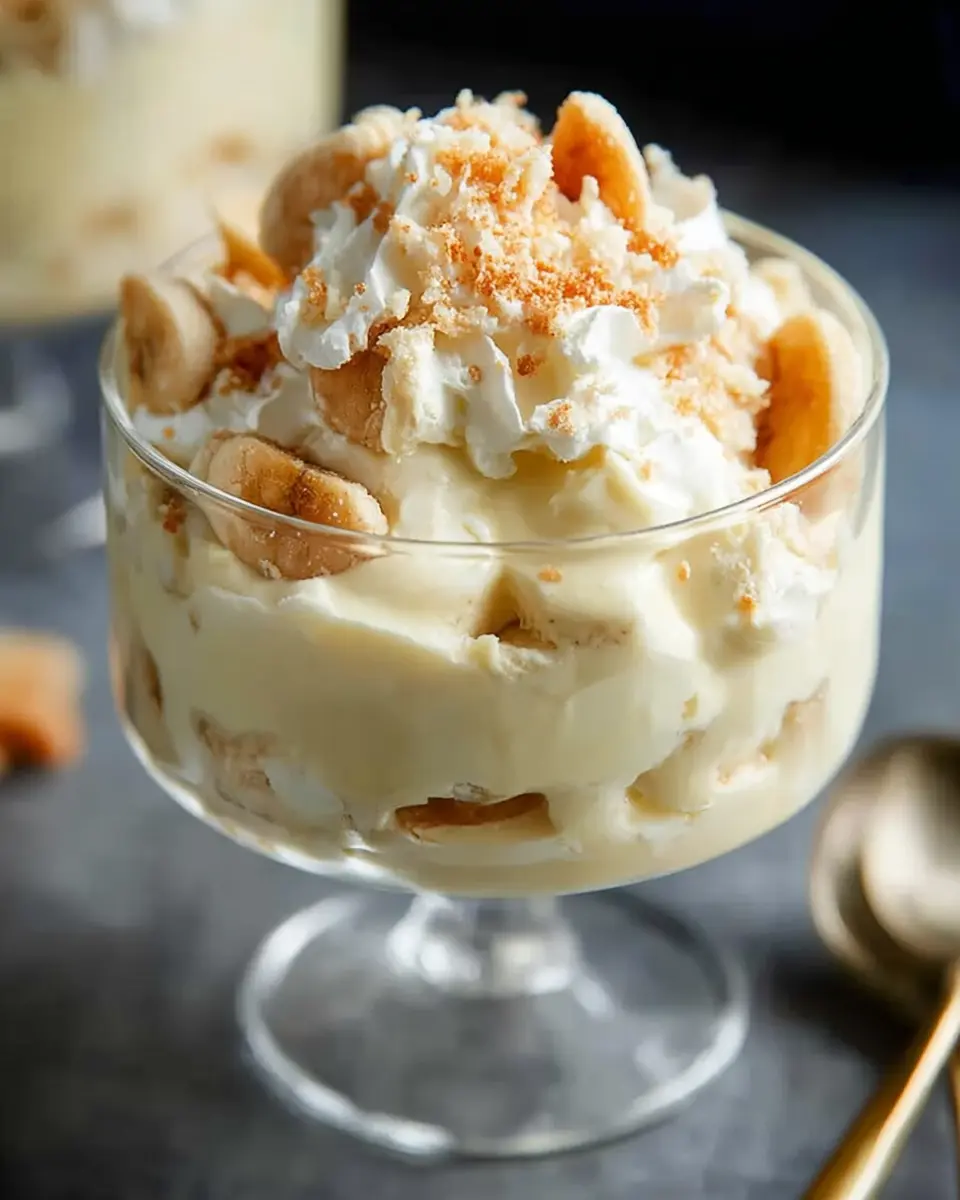
What makes banana pudding so appealing? For one, it’s incredibly versatile. You can whip it up in various ways, from traditional trifle dishes to individual servings in mason jars. The creamy texture paired with the sweetness of bananas creates a delightful harmony that pleases the palate.
Additionally, the ingredients are simple and typically found in your pantry. A mixture of whole milk, heavy cream, fresh bananas, and Nilla wafers comes together beautifully to create that layered experience everyone loves. This dessert is also a quick way to showcase seasonal produce, ensuring you're using ripe bananas for the best flavor.
So why not dive into this timeless recipe that reflects comfort and home? Let’s get started on crafting your very own banana pudding masterpiece!
Ingredients for Banana Pudding
Essential ingredients for a creamy banana pudding
To whip up a delightful banana pudding, you’ll need a few essential ingredients that work together to create that creamy, dreamy texture. Gather the following:
- 2 ½ cups whole milk
- ½ cup heavy cream
- 1 egg and 2 egg yolks (at room temperature)
- ¾ cup granulated sugar
- 4 ½ tablespoons cornstarch (for thickening)
- 4 tablespoons butter (chopped for richness)
- 3 teaspoons vanilla extract (or banana extract for extra flavor)
- ½ teaspoon salt
- 1 box Nilla wafers
- 4 large bananas (sliced, slightly ripe for best flavor)
- Fresh whipped cream (for topping, if desired)
Optional add-ons for extra flavor
While the core ingredients create a fantastic banana pudding, you can jazz it up with some optional add-ins:
- Cream cheese can add a tangy twist, enhancing the creaminess.
- Coconut flakes for a tropical vibe.
- Chocolate chips for a sweet chocolatey surprise.
- Chopped nuts, like pecans or walnuts, for added crunch.
Experiment with these options to customize your pudding to your tastes—after all, cooking is all about personal flair!
Preparing Banana Pudding
Making a delicious banana pudding might seem like a daunting task, but I assure you, it’s quite manageable and rewarding! Once you've tasted this creamy, dreamy dessert, it’s sure to become a staple in your kitchen. Let’s walk through the steps together.
Gather all your ingredients
Before diving in, it's always helpful to assemble everything you need. Here’s your banana pudding shopping list:
- 2 ½ cups whole milk
- ½ cup heavy cream
- 1 large egg, plus 2 egg yolks (both at room temperature)
- ¾ cup granulated sugar
- 4 ½ tablespoons cornstarch
- 4 tablespoons butter, chopped
- 3 teaspoons vanilla extract
- ½ teaspoon salt
- 1 box Nilla wafers
- 4 ripe but not overly ripe bananas, sliced
- Optional: Fresh whipped cream for topping
With everything on hand, you’re set for success!
Heat the milk and cream
In a medium saucepan over medium heat, combine the whole milk and heavy cream. Stir occasionally to avoid scorching. Bring it just to a simmer, where small bubbles appear but don’t let it reach a rolling boil. This step is crucial as it helps dissolve the sugar and enhances the pudding's creamy texture.
Whisk the eggs, sugar, and cornstarch
While your milk mix is heating, grab a medium bowl and whisk together the large egg, egg yolks, granulated sugar, and cornstarch. This mixture is essential for achieving that silky smooth consistency—think of it as your banana pudding powerhouse!
Temper the eggs with hot milk
Now, here's where we need a little finesse. Spoon a small amount of the hot milk into the egg mixture, whisking vigorously. This gradual process warms the eggs without cooking them. Repeat this a couple more times until you’re ready to pour it all back into the saucepan.
Cook the pudding until thickened
Return the combined mixture to the saucepan and continue cooking over medium-low heat. Stir constantly for about 5-8 minutes, or until the pudding thickens and coats the back of a spoon. Patience is key here, but the aroma will entice you to stay focused!
Strain and cool the pudding
Once thickened, remove it from the heat and stir in the chopped butter, vanilla extract, and salt. To ensure your banana pudding is lump-free, pour it through a sieve into a bowl. This creates that silky-smooth texture we’re after. Cover it with plastic wrap directly on the surface to prevent a skin from forming, then let it cool in the fridge for at least an hour.
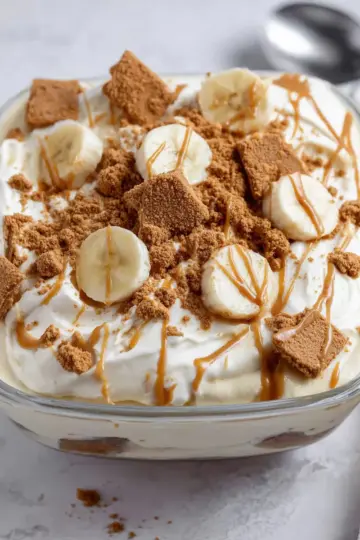
Layer the pudding, bananas, and wafers
It’s assembly time! Grab your preferred dish—a 9-inch square pan works beautifully. Start by laying down a layer of Nilla wafers, followed by banana slices, and half of the pudding mixture. Repeat this layer, ending with a final layer of wafers on top.
Chill and serve
Cover the assembled banana pudding tightly with plastic wrap and refrigerate for 4-8 hours. This refrigeration time allows the flavors to meld beautifully. When you’re ready to serve, top with fresh whipped cream if you like that extra touch!
And there you have it! A delightful banana pudding that’s sure to impress your friends and family. Enjoy your homemade treat with a sense of accomplishment—you’ve just created a classic dessert that celebrates the simple joys of life!
Variations on Banana Pudding
If you're a fan of banana pudding, you're in for a delightful surprise! There are so many fun and creative ways to enjoy this classic dessert.
Meringue-topped Banana Pudding
For a traditional Southern twist, try topping your banana pudding with a fluffy meringue. Simply whip up egg whites and sugar until stiff peaks form, spread it over the pudding, and bake until golden. This adds a light, airy texture that beautifully contrasts with the creamy filling.
Banana Pudding Cake
Transform your banana pudding into a show-stopping cake! Bake a moist yellow cake, allow it to cool completely, then cover it with layers of homemade pudding. Finish with sliced bananas and crumbled Nilla wafers for a delightful twist on the original.
Banana Pudding Pie
Take your dessert to new heights by making a banana pudding pie. Start with a homemade pie crust or a store-bought option, layer in the glorious sliced bananas and pudding, then top it all off with whipped cream. It's a fresh, lighter alternative perfect for summer gatherings.
Exploring these variations can elevate your banana pudding experience while impressing your guests! For more ideas, check out recipes from Taste Better From Scratch.
Cooking Notes for Banana Pudding
Tips for Achieving the Perfect Texture
To create a silky-smooth banana pudding, be sure to temper the eggs when mixing them with the hot milk mixture. Gradually spoon in the hot liquid while whisking to prevent scrambling. After cooking, strain the pudding through a fine mesh sieve; this will eliminate any lumps and ensure that your pudding has the ideal consistency. If you prefer a thicker pudding, consider adding a bit more cornstarch—just remember to adjust the sugar to balance the sweetness!
Storage Tips for Leftovers
If you have any leftovers (if you're lucky!), store the banana pudding in an airtight container in the refrigerator. Cover the surface with plastic wrap to prevent a skin from forming. It’s best to enjoy it within 2-3 days for optimal freshness. However, if you need to freeze some, separate the pudding from the assembled layers, as bananas will brown in the freezer. Thaw any frozen pudding in the refrigerator overnight before assembling it with fresh ingredients.
Serving Suggestions for Banana Pudding
Creative Serving Ideas
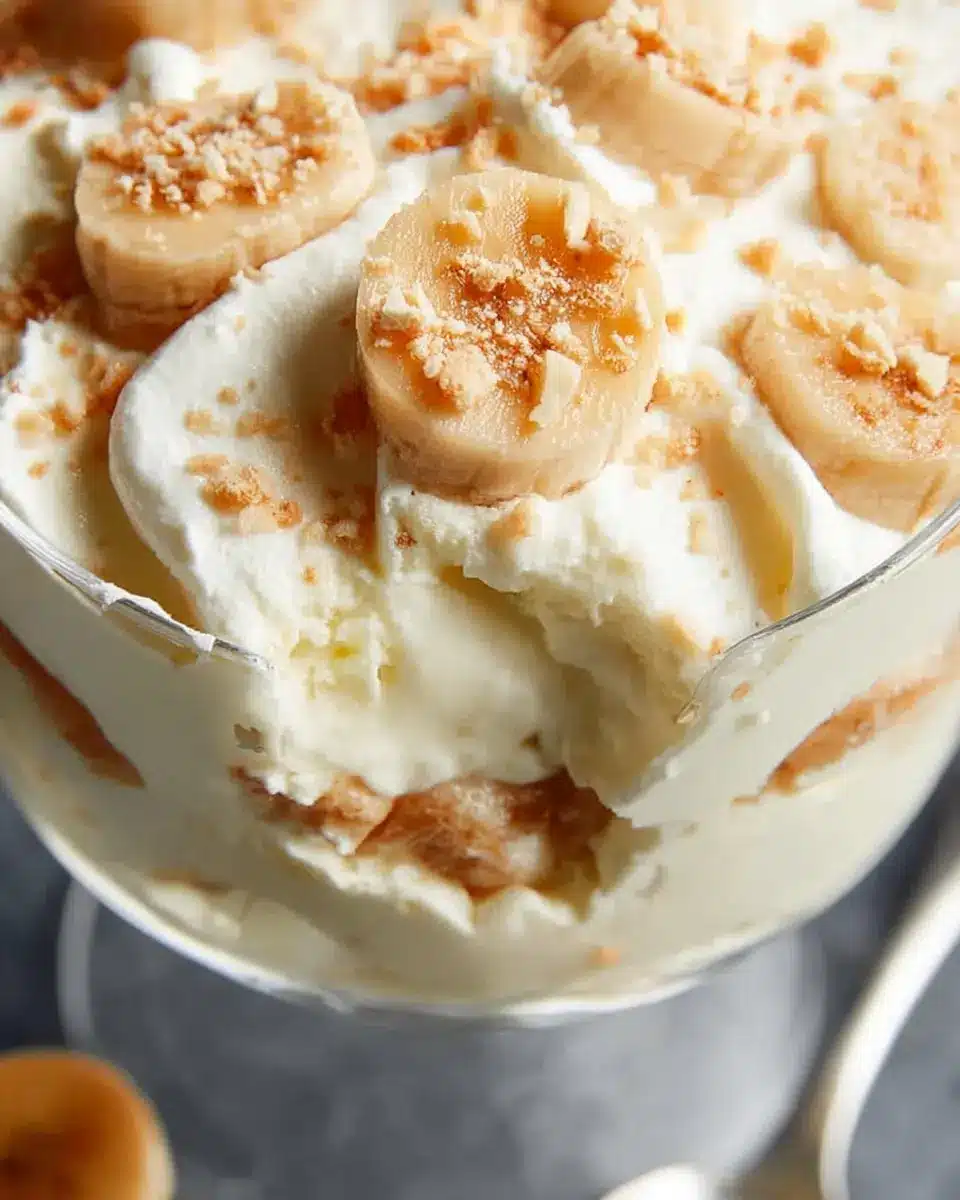
Elevate your banana pudding experience by serving it in unique ways! Instead of just a bowl, try using individual mason jars for a fun twist. Layer it at a potluck or picnic for easy serving. For a festive touch, use a trifle dish to showcase those beautiful layers of bananas, pudding, and Nilla wafers, making it a standout centerpiece. You might even consider making banana pudding cupcakes by incorporating the flavors into a banana-flavored cake base topped with pudding and crushed wafers.
Pairing Suggestions with Beverages
When it comes to beverages, a refreshing iced tea or homemade lemonade perfectly complements the creamy sweetness of banana pudding. If you’re looking for something warmer, a cup of hot cocoa or a latte adds a delightful contrast. As a fun twist, serve your dessert with sparkling water infused with citrus fruits to cleanse the palate between bites. Whatever you choose, these beverages will enhance your dessert experience!
Time Breakdown for Banana Pudding
Preparation time
Get your ingredients ready and whip up the delicious pudding in about 30 minutes. It's a fun and rewarding process that sets the stage for a tasty dessert!
Chilling time
Patience is key! Allow the pudding to chill in the refrigerator for 4 to 8 hours. This not only enhances the flavor but also gives it that perfect, creamy texture.
Total time
From start to finish, you’ll need between 4.5 to 8.5 hours to create your delightful banana pudding. The wait is truly worth it for this classic dessert loved by so many!
For more tips and tricks on making banana pudding, check out this guide on pudding techniques.
Nutritional Facts for Banana Pudding
Calories
A serving of this delightful banana pudding contains approximately 288 calories. This makes it a satisfying yet indulgent treat that won’t completely derail your daily caloric intake.
Sugar Content
With about 28 grams of sugar per serving, the natural sweetness primarily comes from ripe bananas and added sugar. It’s essential to enjoy this dessert in moderation, especially if you’re watching your sugar intake.
Key Nutrients
This classic dessert packs some nutritional punch:
- Calcium: 105 mg, which supports bone health.
- Potassium: 346 mg, great for heart health and muscle function.
- Vitamin A: 582 IU, beneficial for vision and immune function.
For more detailed breakdowns and serving suggestions, check out resources on nutrition facts or Healthy Eating. Enjoy your pudding while keeping nutrition in mind!
FAQs about Banana Pudding
Can I make banana pudding in advance?
Absolutely! Banana pudding can be made 1-2 days ahead of time, making it perfect for gatherings or busy weeks. Just cover it tightly and store it in the refrigerator until you're ready to serve. It actually gets better as the flavors meld!
How do I keep bananas from browning?
To keep those lovely bananas looking fresh, try tossing them with a bit of lemon juice or lime juice. This natural remedy effectively slows down browning, allowing you to maintain that appealing look in your banana pudding. Alternatively, you can also slice them just before serving for the best appearance.
What can I substitute for Nilla wafers?
If you're looking for a change from Nilla wafers, consider using ladyfingers, chessmen cookies, or even crushed graham crackers. Each of these options can impart a unique flavor, making your banana pudding surprisingly delightful! You could also use homemade vanilla cookies if you're feeling adventurous.
Conclusion on Banana Pudding
The Irresistible Charm of Homemade Banana Pudding
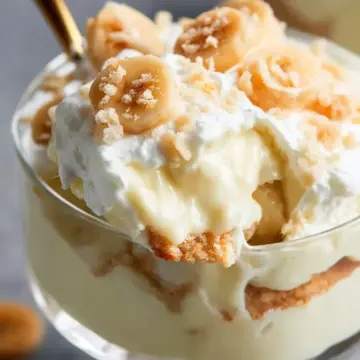
In conclusion, homemade banana pudding offers a delightful blend of creamy texture and sweet banana flavor that’s hard to resist. Whether it's a family gathering or a cozy night in, this dessert is sure to impress. Give it a try and savor the joy of making and sharing this classic treat!
Banana Pudding
Equipment
- medium saucepan
- Mixing Bowl
- Sieve or fine mesh strainer
- plastic wrap
- 9 inch square pan
Ingredients
- 2.5 cups whole milk
- 0.5 cup heavy cream
- 1 whole egg at room temperature
- 2 large egg yolks at room temperature
- 0.75 cup granulated sugar
- 4.5 Tablespoons cornstarch
- 4 Tablespoons butter chopped
- 3 teaspoons vanilla extract
- 0.5 teaspoon salt
- 1 box Nilla wafers
- 4 large bananas sliced (use ripe, but not overly ripe bananas)
- Fresh whipped cream for topping (optional)
Instructions
- Add milk and cream to a medium saucepan over medium heat. Bring to a simmer, stirring often.
- In a medium bowl, whisk together the eggs, sugar, and cornstarch until well blended.
- Spoon a little of the hot milk over the egg mixtures and whisk well. Repeat with another few spoonfuls of the hot milk, to temper the eggs.
- Pour the egg mixture into the saucepan and continue to cook over medium low heat for 5-8 minutes until thickened.
- Once thickened, remove from the heat and stir in the butter, vanilla extract and salt.
- Pour the pudding through a sieve or fine mesh strainer into a container, to remove any lumps.
- Place a piece of plastic wrap directly on top and refrigerate for an hour or more, until chilled.
- To assemble the banana pudding, line the bottom of a pan with vanilla wafers. Top with sliced bananas, then ½ of the pudding mixture. Repeat with another layer.
- Cover tightly with plastic wrap and place the assembled dessert in the fridge for 4-8 hours.
- Top with fresh whipped cream before serving, if desired.
Leave a Reply