
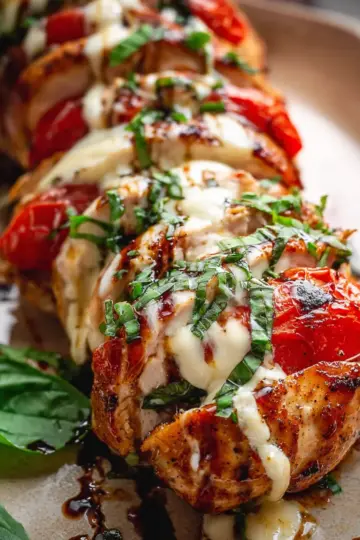
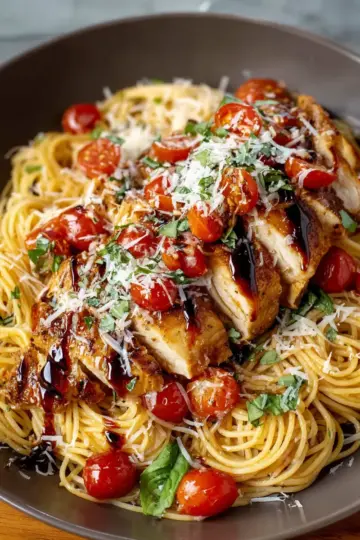
Introduction to Cheesy Garlic Chicken Wraps
Homemade wraps are a true kitchen revolution for anyone craving a quick yet satisfying meal. Unlike store-bought options, which often lack flavor and integrity, making your own wraps allows you to control the ingredients, ensuring that every bite is bursting with freshness and flavor. Imagine tender chicken, aromatic garlic, and ooey-gooey cheese all wrapped in a warm tortilla—sounds irresistible, right?
These Cheesy Garlic Chicken Wraps easily tick the boxes for a busy lifestyle. With simple ingredients you probably already have in your kitchen, you’ll whip these up in no time. Beyond convenience, crafting your own wraps is a fantastic way to customize flavors. Feel free to tweak the spiciness with your favorite hot sauce or add more veggies for extra crunch.
Plus, there’s something uniquely rewarding about prepping meals from scratch, isn’t there? Not only does it save money, but it often means healthier options that suit your dietary preferences. Check out sources like Healthline for insights into why home-prepped meals are beneficial. So, are you ready to dive into this cheesy delight? Let’s get cooking!
Ingredients for Cheesy Garlic Chicken Wraps
Essential ingredients for a delicious wrap
To create mouthwatering Cheesy Garlic Chicken Wraps, you'll need a few key ingredients that come together to deliver a fantastic flavor combination:
- Large tortillas (regular or low-carb): The perfect vessel for your filling.
- Cooked chicken: About 7 oz, chopped (rotisserie chicken works wonders for quick prep).
- Garlic: 2 cloves, minced or grated to infuse that unmistakable flavor.
- Light mayonnaise and yogurt: For creaminess without the guilt—2 tablespoon of mayo and 1 tablespoon of yogurt should do the trick.
- Hot sauce: A tablespoon adds a delightful kick (Frank’s is a popular choice).
- Salt: A touch of salt to bring all the flavors together.
- Grated cheese: 3 oz of your favorite blend (cheddar is highly recommended).
- Green onions: Chopped for freshness and crunch.
- Olive oil spray: To crisp up those wraps during cooking.
Optional ingredients for customization
While the essential ingredients will lead you to a delicious wrap, feel free to personalize your Cheesy Garlic Chicken Wraps with optional additions:
- Vegetables: Spinach, bell peppers, or shredded carrots can add nutrition and texture.
- Different sauces: Experiment with ranch, barbecue, or a zesty vinaigrette to switch things up.
- Seasonings: Try adding spices like paprika or cumin for extra flavor.
- Avocado or guacamole: For creaminess, elevate your wrap even further.
So, are you ready to whip up these tasty wraps? They’re perfect for a quick lunch or a casual dinner, and their customizable nature allows you to tailor them to your cravings! For those interested in additional meal ideas, check out this site that offers a variety of fresh recipes.
Preparing Cheesy Garlic Chicken Wraps
Making Cheesy Garlic Chicken Wraps is not only simple but also a satisfying way to combine delicious flavors in one fun meal. Let’s dive into the preparation process and make your wraps the star of your next dinner or lunch!
Gather and prep your ingredients
Start by rounding up all the ingredients you’ll need. This helps streamline the cooking process and makes everything flow a little smoother. Here’s what you’ll need:
- 2 large tortillas (regular or low-carb)
- 7 oz cooked chicken, chopped (rotisserie is an excellent option)
- 2 garlic cloves, minced or grated
- 2 tablespoons light mayonnaise
- 1 tablespoon light Greek yogurt
- 2 teaspoons hot sauce (like Frank’s)
- ¼ teaspoon salt
- 3 oz grated cheese (a cheddar blend works beautifully)
- 1 green onion, chopped
- Olive oil spray
With everything prepped, you’re ready to dive into creating those flavorful wraps.
Create the chicken filling
In a mixing bowl, combine the chopped chicken, minced garlic, mayonnaise, Greek yogurt, hot sauce, and salt. Stir everything together until it's well mixed and looks creamy. Taste it as you go to adjust the garlic or hot sauce to fit your preference; everyone's palate is a bit different! Feel free to check out this article on how to enhance chicken flavors for some inspiration.
Assemble the wraps
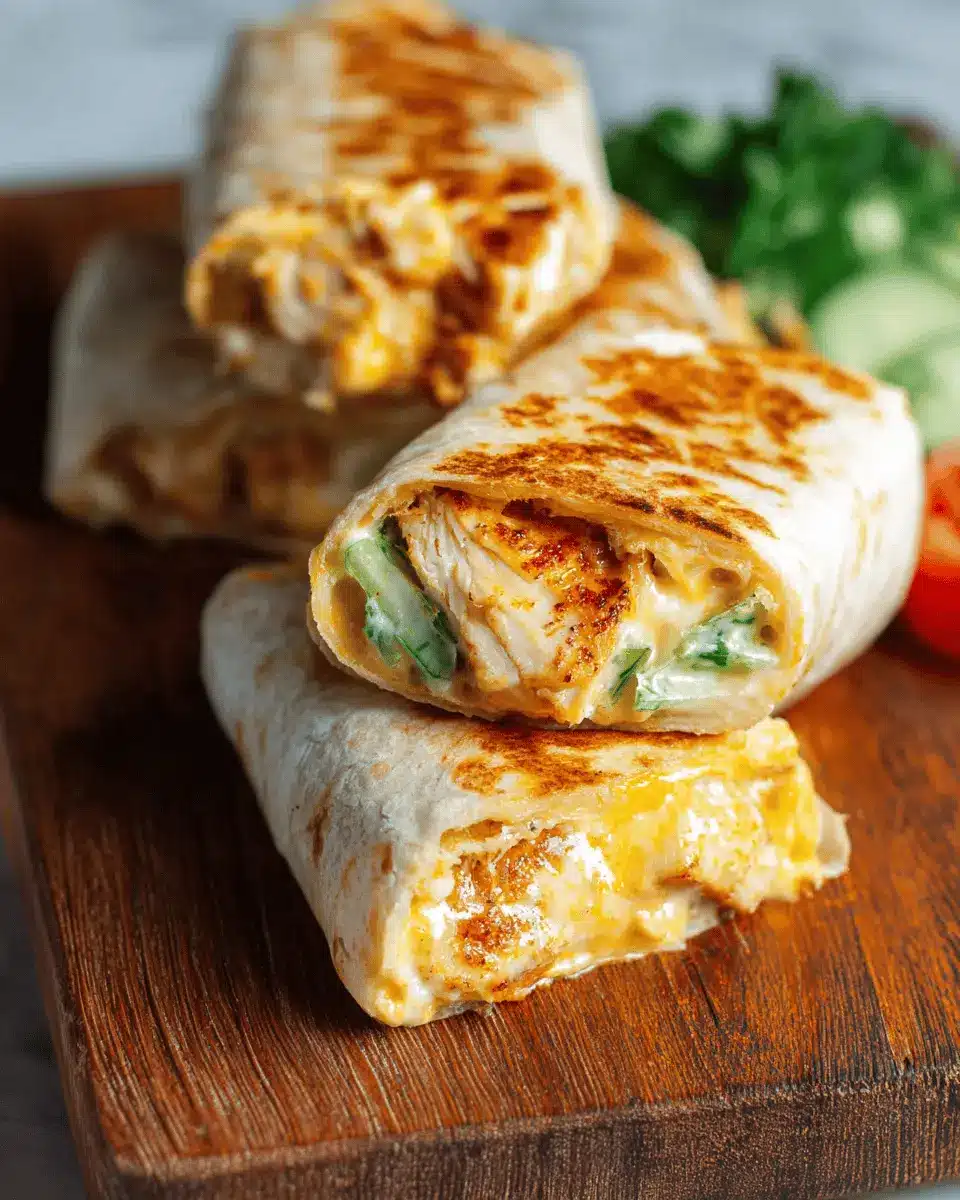
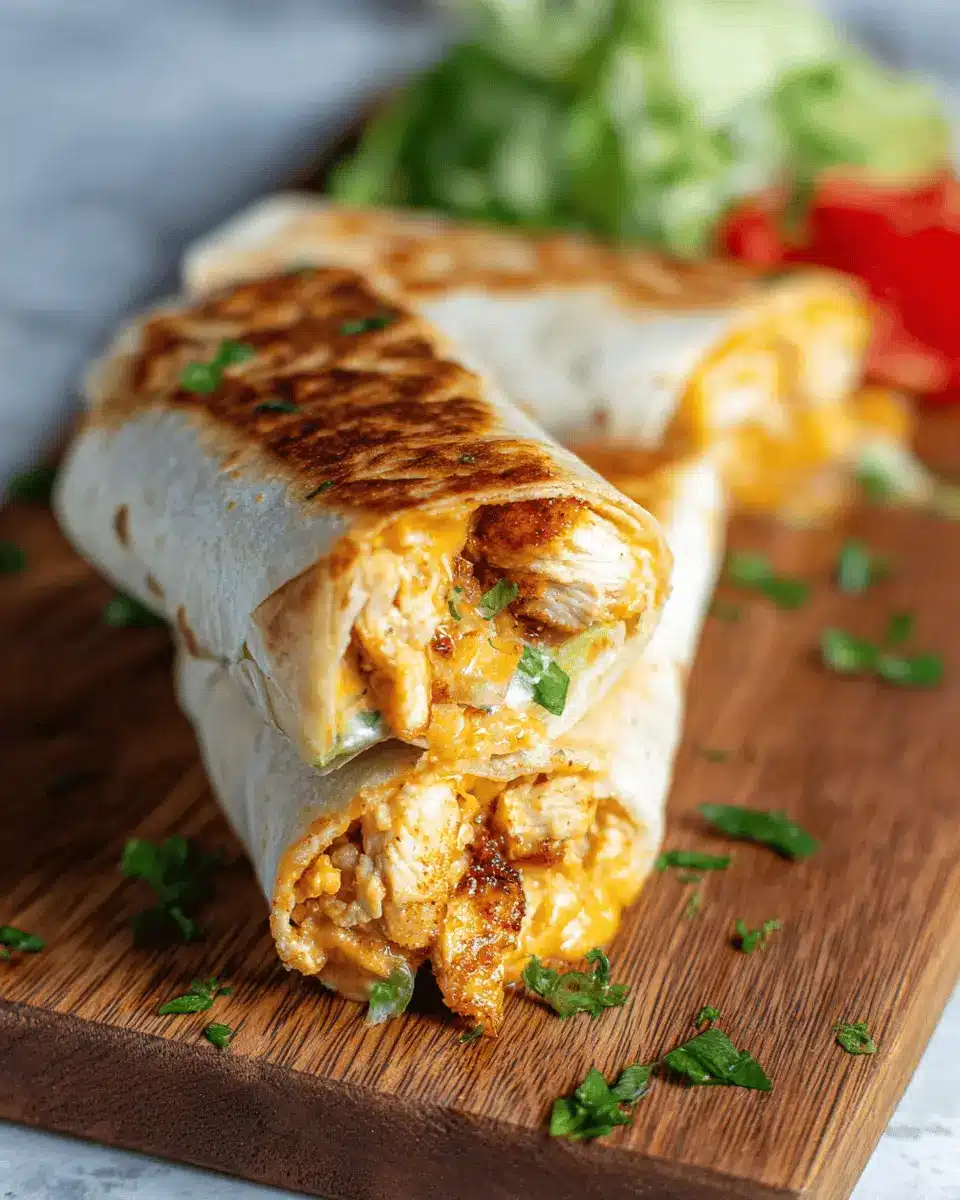
Now that your chicken filling is ready, it’s time to assemble those Cheesy Garlic Chicken Wraps. Start by laying out your tortilla flat on a clean surface. On the lower third of the tortilla, sprinkle about 2 tablespoons of grated cheese.
Next, place roughly ⅔ cup of your delicious chicken mixture on top of the cheese. Add a final sprinkle of cheese and a touch of chopped green onion for added flavor and crunch.
To roll it up, first fold in the sides of the tortilla, then roll up tightly from the bottom. This technique keeps the filling secure while cooking.
Cook the wraps for the perfect crunch
Heat a non-stick pan over medium-high heat, giving it a light spray with olive oil. Carefully place your wraps seam-side down into the hot pan. Cook for about 3-4 minutes on each side until they turn crispy and golden. For extra melty cheese, cover the pan with a lid during cooking.
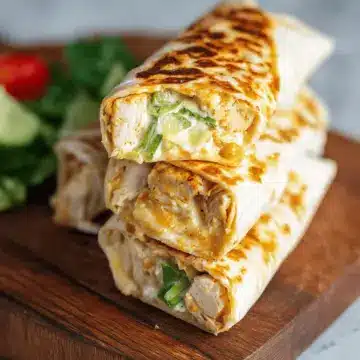
Slice and get ready to serve!
Once your Cheesy Garlic Chicken Wraps are perfectly crisped, remove them from the pan and slice them in half for presentation. Serve them with your favorite crunchy salad, roasted veggies, or even a side of salsa for dipping. These wraps are not only delicious but also an excellent way to enjoy a flavorful meal without much fuss. Enjoy your creation, and don’t forget to share the joy with friends or family!
Variations on Cheesy Garlic Chicken Wraps
Spicy Cheesy Garlic Chicken Wraps
For those who crave a bit of heat, try adding jalapeños or a sprinkle of red pepper flakes to your cheesy garlic chicken wraps. You can also substitute the hot sauce with a spicier version for an extra kick. The combination of melted cheese and zesty spices creates an irresistible flavor explosion that will leave your taste buds dancing. Pair these wraps with a cool avocado dipping sauce to balance the spice!
Veggie-Packed Cheesy Garlic Wraps
Looking to sneak in some nutrition? Add a variety of colorful veggies like bell peppers, spinach, or zucchini to your cheesy garlic chicken wraps mix. Not only do these veggies add a satisfying crunch, but they also boost the fiber content, making your meal a bit healthier. You can even swap out the chicken for grilled tofu or chickpeas for a delightful vegetarian option. Get creative with your fillings and enjoy the flavors!
Cooking Tips and Notes for Cheesy Garlic Chicken Wraps
Make-ahead Tips for Busy Professionals
Looking to save time during your busy week? You can prepare the Cheesy Garlic Chicken Wraps filling 2–3 days in advance. Store it in the fridge, and when hunger strikes, just wrap it up and cook! This way, you’ll have a delicious meal ready in minutes without much hassle.
Storage Tips to Keep Them Fresh
To keep your Cheesy Garlic Chicken Wraps fresh, store any cooked wraps in the fridge for up to 2 days. They’ll be delightful when reheated in a skillet or air fryer, regaining their crispiness. While I wouldn’t recommend freezing the wrapped version, the filling can be frozen for up to a month, making it a versatile addition to your meal prep.

Serving suggestions for Cheesy Garlic Chicken Wraps
Ideal sides to complement your wraps
To elevate your Cheesy Garlic Chicken Wraps, consider serving them alongside a crisp, refreshing salad. A mixed greens salad with cherry tomatoes, cucumber, and a light vinaigrette perfectly balances the richness of the wraps. Alternatively, try roasted veggies—think zucchini, bell peppers, or asparagus drizzled with olive oil and seasoned with herbs. For a fun and crunchy accompaniment, a side of tortilla chips or sweet potato fries can add texture and flavor, making this a full-fledged meal.
Garnishes that elevate the dish
Don’t underestimate the power of garnishes! A sprinkle of fresh cilantro or parsley adds a burst of freshness, while sliced jalapeños can introduce a spicy kick. For a creamy element, a dollop of sour cream or guacamole on the side can enhance every bite of your Cheesy Garlic Chicken Wraps. You might also drizzle a bit of homemade salsa or hot sauce for that extra oomph. These simple additions can take your dish from delicious to spectacular!
Time Breakdown for Cheesy Garlic Chicken Wraps
Preparation Time
Get ready to dive into deliciousness with just 10 minutes of prep! You’ll be chopping, mixing, and ready to wrap in no time.
Cooking Time
Whip these up in about 8-10 minutes. That’s all it takes to transform your ingredients into golden, crispy delights.
Total Time
In just 20 minutes, you can have a scrumptious plate of Cheesy Garlic Chicken Wraps ready to enjoy. Perfect for a quick dinner or an easy meal prep option!
Feeling inspired? Check out some great chopping techniques here to make your prep even smoother! Or explore various ways to serve these wraps with a side of fresh salad or homemade salsa from Serious Eats for a fun twist.
Nutritional Facts for Cheesy Garlic Chicken Wraps
Calories
Each Cheesy Garlic Chicken Wrap contains approximately 476 calories, making it a hearty and fulfilling meal. Whether you're fueling up for a busy day or treating yourself after work, this wrap strikes a fine balance between indulgence and nutrition.
Protein
You'll benefit from about 38 grams of protein per wrap, thanks to the chicken and cheese. This high protein content is fantastic for anyone looking to maintain muscle mass or stay satiated throughout the day.
Sodium
However, keep in mind that these wraps contain around 1,090 mg of sodium, which is a tad higher than the average meal. If you're keeping an eye on your salt intake, consider reducing or omitting added salt or using low-sodium alternatives for the ingredients.
For more tips on managing your sodium intake, check out resources from the American Heart Association.
FAQs about Cheesy Garlic Chicken Wraps
How can I modify the spice level in my wraps?
If you prefer a milder flavor, feel free to reduce the amount of hot sauce or even omit it altogether. For those who love a bit of heat, consider adding extra hot sauce or spicy seasonings like cayenne pepper or paprika. You can also spice things up with jalapeños or sliced chili peppers in your filling.
What's the best way to store leftovers?
After enjoying your Cheesy Garlic Chicken Wraps, store any leftovers in an airtight container in the fridge for up to two days. When you're ready to eat, reheat them in a skillet or air fryer for that crispy texture, which is way better than a microwave!
Can I make these wraps gluten-free?
Absolutely! To create a gluten-free version of these delicious wraps, simply substitute the regular tortillas with gluten-free tortillas. Many stores offer great options these days, making it easy to enjoy your wraps without compromising taste.
Conclusion on Cheesy Garlic Chicken Wraps
In summary, Cheesy Garlic Chicken Wraps are not just a tasty meal; they’re a versatile and fun dish perfect for any occasion. Easy to prepare, customizable, and packed with flavor, these wraps can quickly become a staple in your kitchen. Serve them with a salad or salsa for a complete dining experience!
Cheesy Garlic Chicken Wraps
Equipment
- Non-stick pan
Ingredients
- 2 large tortillas regular or low-carb/high-protein
- 7 oz cooked chicken about 200 grams, chopped (rotisserie is great)
- 2 cloves garlic minced or grated (adjust to taste)
- 2 tablespoons light mayonnaise
- 1 tablespoon light Greek yogurt or plain yogurt
- 2 teaspoons hot sauce like Frank’s
- ¼ teaspoon salt
- 3 oz grated cheese about 90 grams (used a cheddar blend)
- 1 whole green onion chopped
- Olive oil spray
Instructions
- In a bowl, mix chopped chicken, garlic, mayonnaise, yogurt, hot sauce, and salt.
- Lay out your wrap. On the lower third of the tortilla, sprinkle about 2 tablespoons of cheese, then top with about ⅔ cup of the chicken mixture. Add another tablespoon of cheese and a sprinkle of green onion.
- Fold in the sides of the tortilla, then roll it up tightly from the bottom.
- Heat a non-stick pan over medium-high. Spray with olive oil.
- Place wraps seam-side down. Cook for 3–4 minutes per side until crispy and golden. Cover with a lid to help heat the inside.
- Slice in half and serve!
Leave a Reply