
Introduction to Garlic Cheese Pizza
Why is Garlic Cheese Pizza a Favorite?
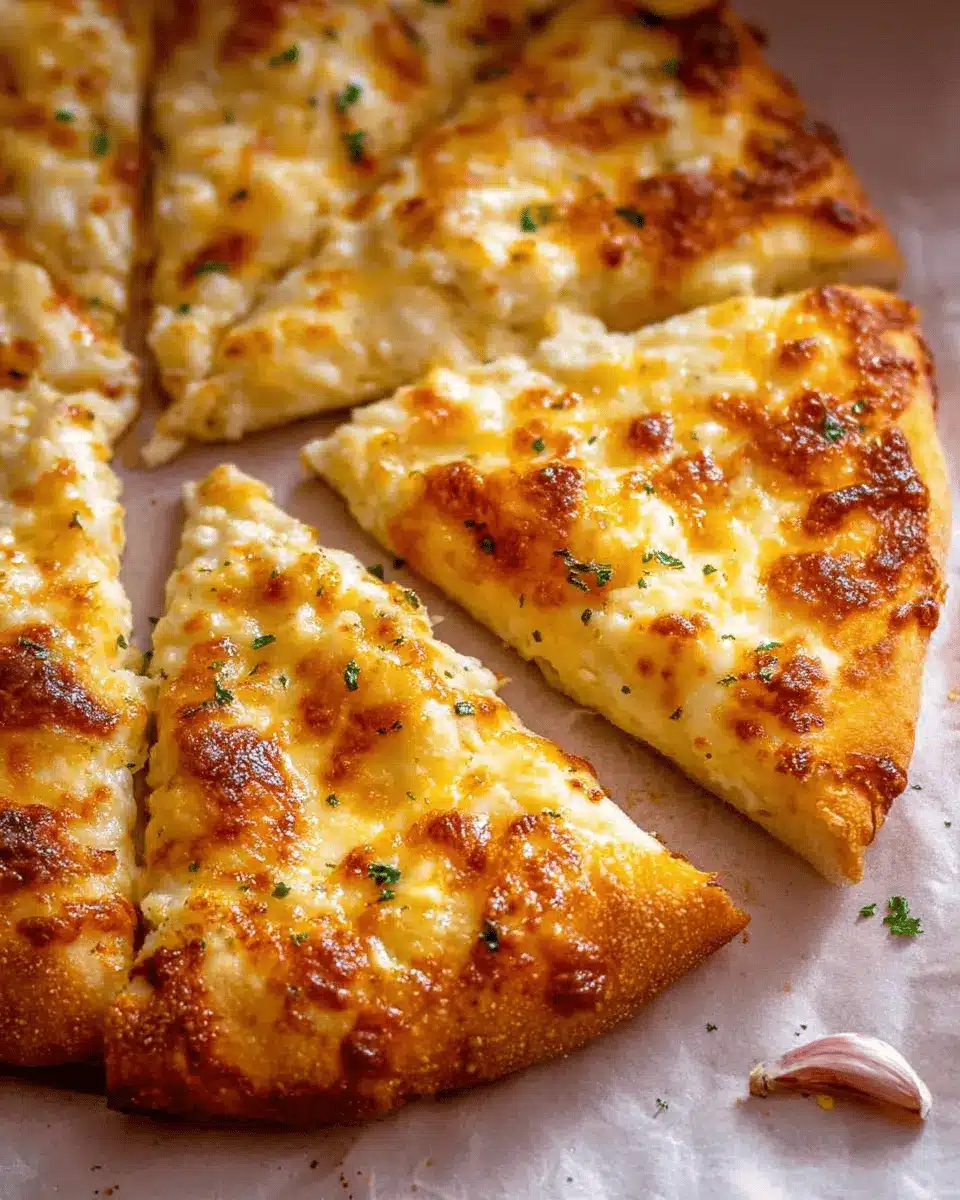
Garlic cheese pizza is more than just a delicious meal; it’s an experience! There’s something incredibly comforting about the combination of gooey mozzarella and the rich aroma of garlic. For many, a slice of garlic cheese pizza evokes memories of family gatherings, casual hangouts with friends, or cozy nights in.
One of the reasons garlic cheese pizza is so beloved is its versatility. You can easily customize it to suit your taste, whether you're a fan of spicy jalapeños, fresh basil, or even turkey bacon. Another plus? It’s simple enough for a weeknight dinner, yet impressive enough for a dinner party. The actual process is straightforward, and with our recommended recipes for the dough, you’ll find it’s enjoyable to make from scratch or use a store-bought base.
A well-prepared garlic cheese pizza isn’t just food; it’s comfort on a plate, often bringing people together over shared meals. And who can resist that golden, bubbly cheese, perfectly melted atop a tasty crust? Whether it’s your go-to for movie night or a way to treat yourself after a long week, garlic cheese pizza is sure to become a perennial favorite. Don’t just take our word for it; why not try making it yourself?
Ingredients for Garlic Cheese Pizza
Creating the perfect garlic cheese pizza starts with selecting the right ingredients. Here’s a breakdown to help you gather everything you need for this delicious dish.
Essential Ingredients for the Pizza Base
The foundation of any great pizza is its base. You can choose from several options depending on your preference:
- Classic Pizza Dough – This wood-fired Italian-style dough gives a chewy, airy crust. You can find a great recipe here.
- Fast No-Yeast Pizza Dough – Perfect for those short on time, this dough requires no rise time and is ready in a flash. Check it out here.
- Store-Bought Base – If convenience is key, grab a store-bought crust that you like!
Garlic and Cheese Topping Essentials
Now, onto the star of the show—the toppings! Here’s what you’ll need:
- Extra Virgin Olive Oil (2 tbsp) – This will infuse your pizza with rich flavor.
- Garlic (2–3 large cloves) – Crush it for maximum flavor. Avoid store-bought garlic paste for the best taste.
- Salt (⅛ tsp) – A pinch will enhance the overall taste.
- Mozzarella Cheese (1 cup) – Freshly shredded mozzarella will melt beautifully.
- Parmesan Cheese (½ cup) – Adds a nutty depth to your topping.
With these ingredients in hand, you’re ready to whip up a garlic cheese pizza that’s sure to delight!
Step-by-Step Preparation of Garlic Cheese Pizza
Preheat the Oven Properly
Before diving into the preparation, let’s set the stage by preheating your oven. This step is crucial for achieving that perfect crispy crust! Aim for a scorching hot temperature of 250°C (480°F) or 230°C if you're using a fan setting. Allow your oven ample time to reach this temperature—trust me, it makes a world of difference. A hot oven helps the cheese melt beautifully while giving a delightful crunch to the pizza base.
Prepare the Garlic Infused Oil
Now, let’s talk flavor. The heart of this garlic cheese pizza lies in the garlic-infused oil. In a small bowl, mix together 2 tablespoons of extra virgin olive oil and 2 teaspoons of crushed garlic, which you can prepare by using a garlic press or mashing it into a paste. Let this mixture sit for about 10 minutes to allow the garlic to unleash its aroma into the oil, creating a vibrant infusion that will elevate your pizza to new culinary heights. It’s a simple but transformative step—don't skip it!
Roll Out Your Chosen Pizza Base
Once your oil is infused with garlicky goodness, it’s time to prepare your pizza base. You have options: you can either make a classic pizza dough or try a quick, no-yeast version. If you’re using a store-bought base, make sure it’s not pre-cooked, as it may burn before the cheese melts. Flour your work surface and roll out your base to about a size of 30cm (12 inches). If you want to channel your inner pizza chef, try stretching it by hand for that authentic feel!
Add the Toppings Generously
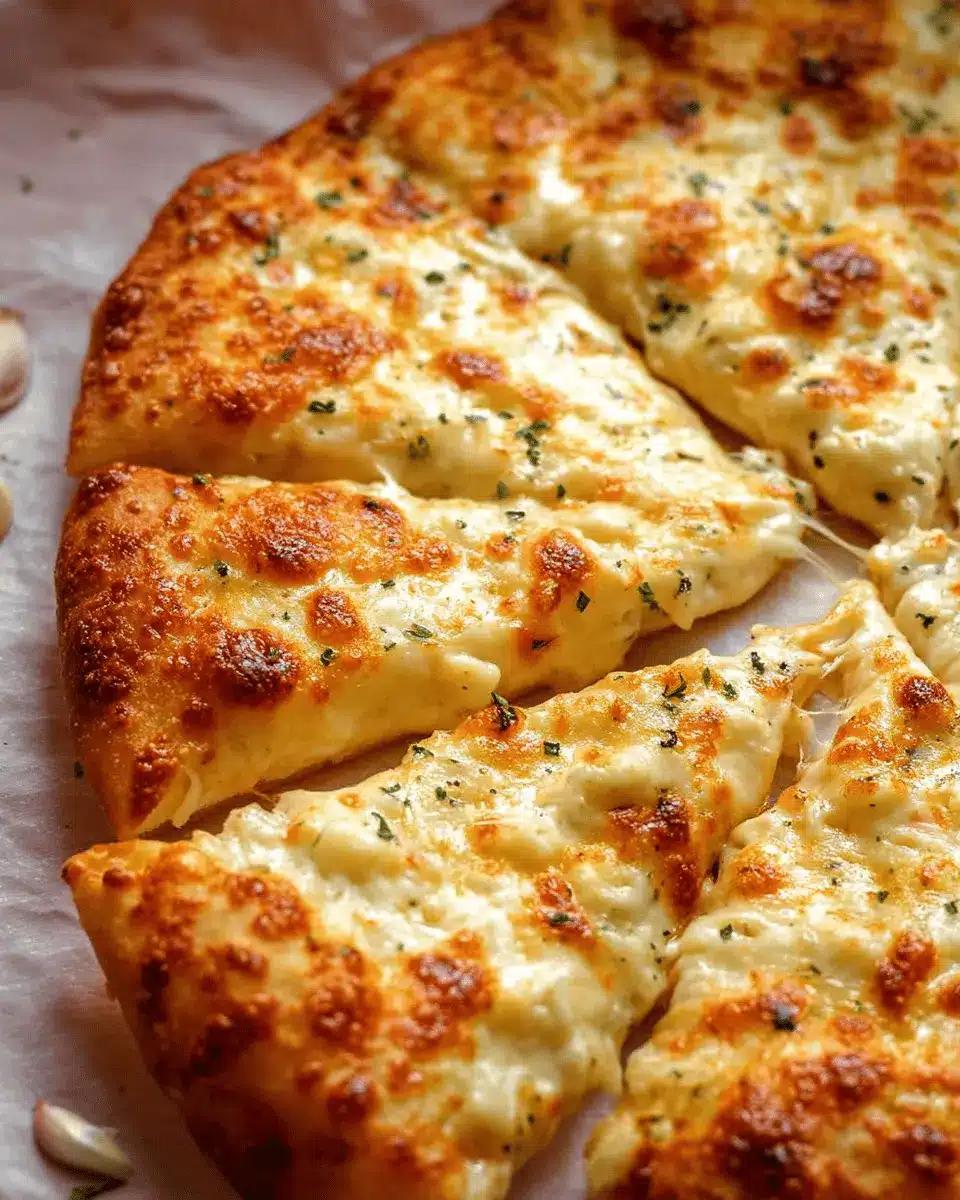
With your pizza base ready, it’s topping time! Start by spreading the garlic-infused oil all over the base, ensuring you leave some crust exposed—after all, we want that contrasting texture. Sprinkle ⅛ teaspoon of salt followed by a generous layer of 1 cup of shredded mozzarella cheese and ½ cup of Parmesan. Feel free to adjust the cheese quantities to suit your cheesy cravings! If you’re feeling extra adventurous, this is a great time to experiment with additional toppings like veggies or your favorite proteins.
Bake the Pizza to Perfection
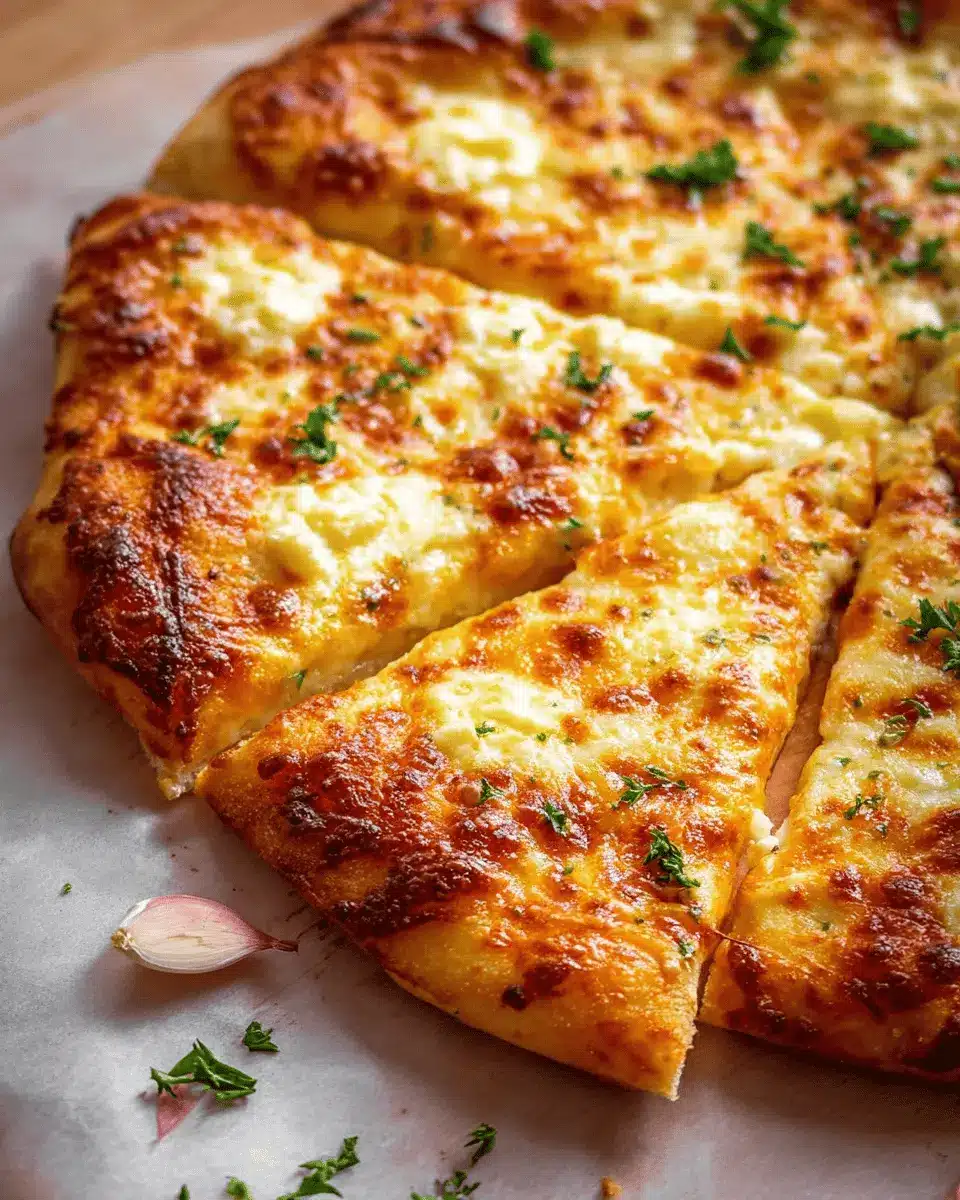
Finally, it’s time for the moment of truth—baking. Place your pizza in the preheated oven and let it bake for 8 minutes, flipping it halfway through for even cooking. Keep an eye on it as those golden spots start to appear on the cheese; that's your cue that it’s getting to perfection. When it's done, slice it up and get ready to enjoy a delicious slice of garlic cheese pizza straight out of your kitchen!
With just a few easy steps, you've created a mouthwatering pizza that’s perfect for sharing or indulging all by yourself. Trust me, mastering this recipe will make you the star of any gathering or a cozy night in! For more cooking inspiration, check out this helpful guide on pizza-making techniques.
Happy cooking!
Variations on Garlic Cheese Pizza
Garlic Cheese Pizza with Fresh Herbs
Elevate your garlic cheese pizza by incorporating fresh herbs like basil, oregano, or parsley. Simply sprinkle the herbs on top right before it goes into the oven for that burst of fragrance and flavor. Not only does it add color and freshness, but it also pairs beautifully with the rich, cheesy goodness. Think about experimenting with herb combinations for a personal touch—how about a hint of thyme or even some spicy arugula?
Loaded Garlic Cheese Pizza with Veggies
If you want to pack in some nutrition, try a loaded garlic cheese pizza with veggies! Top your dough with favorites like bell peppers, mushrooms, or spinach. Not only do they add a delightful crunch, but they also complement the garlicky, cheesy base wonderfully. Toss the veggies in olive oil and a pinch of salt before placing them on the pizza for an added depth of flavor—delicious! You can even use seasonal vegetables to keep things fresh and exciting.
With these variations, your garlic cheese pizza can evolve into something uniquely yours!
Cooking Tips and Notes for Garlic Cheese Pizza
Garlic Preparation Techniques
When preparing garlic for your garlic cheese pizza, aim for a smooth paste to ensure maximum flavor infusion. Using a garlic press is excellent, but if you don’t have one, finely mince the garlic with a knife and then use the flat side of the blade to mash it into a paste. This method releases the essential oils, enhancing the overall taste. Remember, avoid store-bought garlic paste—it's often loaded with preservatives that can dull your pizza’s flavor.
Cheese Selection Tips
For a melty, rich texture, always opt for freshly shredded cheese. Pre-shredded varieties often contain anti-clumping agents that can impact melting. A blend of mozzarella and parmesan works beautifully for garlic cheese pizza, giving it creamy and nutty notes respectively. When measuring, shred your cheese first, then pack it tightly into your measuring cup to avoid disappointment! If you want to explore different cheese options, check out this cheese guide for inspiration.
Serving Suggestions for Garlic Cheese Pizza
Pairings with Dips and Salads
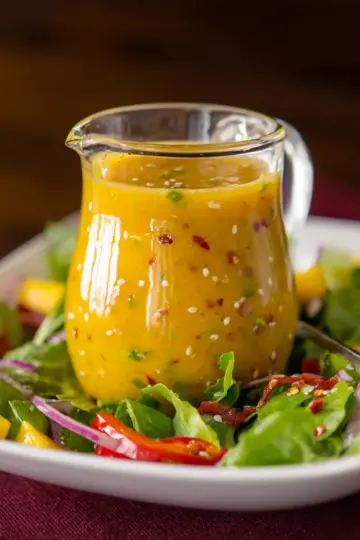
Transform your garlic cheese pizza into a full meal by pairing it with complementary dips and salads. Consider serving it alongside a refreshing arugula salad drizzled with balsamic vinaigrette. For dips, a robust marinara sauce or a creamy ranch dressing brings a delightful contrast to the savory flavors. If you're feeling adventurous, try a zesty chimichurri for an exciting twist!
Creative Serving Ideas for Gatherings
When hosting friends or family, showcase your garlic cheese pizza in style. Cut it into bite-sized squares for easy sharing, or serve it as part of a pizza bar where guests can customize their slices with toppings like Turkey Bacon, Chicken Ham, or fresh vegetables. Don’t forget to include fun accessories like decorative plates and colorful napkins to create a festive atmosphere. Whether it’s a game night or a casual get-together, this pizza is guaranteed to be the star of the table!
Time Breakdown for Garlic Cheese Pizza
When you're craving a delicious homemade garlic cheese pizza, knowing the time it takes to prepare and bake can help you plan your cooking session. Here's a quick breakdown to keep you on track:
Preparation Time
Allow about 20–30 minutes for prep. This includes mixing the garlic-infused oil, rolling out your dough, and getting all those cheesy toppings ready.
Baking Time
Baking your pizza will take around 8 minutes in a hot oven, so keep an eye on it for that perfect golden cheese.
Total Time
In total, you’re looking at approximately 30–40 minutes from start to finish. Perfect for a weeknight dinner or a casual get-together!
Nutritional Facts for Garlic Cheese Pizza
When indulging in a slice of garlic cheese pizza, understanding its nutritional profile can help you enjoy it mindfully.
Caloric Breakdown
A typical slice of garlic cheese pizza (⅛ of a 12-inch pizza) contains approximately 270-320 calories. The actual calories may vary based on the crust and cheese type.
Macronutrients Overview
- Carbohydrates: ~30-35g
- Protein: ~10-14g
- Fat: ~12-17g
For a deeper dive into the health aspects of ingredients, explore nutritional databases such as the USDA FoodData Central to learn more about the components of your garlic cheese pizza!
FAQs about Garlic Cheese Pizza
Can I use a gluten-free pizza base?
Absolutely! You can easily swap in a gluten-free pizza base for your garlic cheese pizza. Many grocery stores offer delicious gluten-free options, or you could make your own. Just remember that baking times might vary, so keep an eye on it while it cooks.
What’s the best way to store leftover pizza?
To keep your garlic cheese pizza fresh, let it cool before wrapping it in foil or placing it in an airtight container. You can store it in the fridge for up to 3 days. When you’re ready to enjoy it again, reheat it in the oven at 180°C (350°F) for about 10 minutes or until it's heated through and the cheese is melty again.
How can I spice up my garlic cheese pizza?
If you're looking to add a twist to your garlic cheese pizza, try incorporating toppings like fresh herbs (like basil or oregano), chili flakes for some heat, or even sautéed vegetables like spinach or mushrooms. Adding cooked turkey bacon or chicken ham can also bring in a savory touch that complements the cheesy goodness!
Conclusion on Garlic Cheese Pizza
Creating a mouthwatering garlic cheese pizza at home is easier than you might think! With a few simple ingredients and your choice of pizza base, you can impress friends and family alike. So, roll up your sleeves and give this delicious recipe a try—your taste buds will thank you!

Garlic cheese pizza
Equipment
- oven
- Mixing Bowl
- Pizza Pan
- Grater
- garlic press
Ingredients
Pizza Base
- 1 classic pizza dough wood-fired Italian style
- 1 fast no-yeast pizza dough this is excellent!
- 1 Store bought
Garlic Pizza Topping
- 2 tablespoon extra virgin olive oil
- 2 teaspoon garlic 2 – 3 large cloves, crushed using garlic press or make paste
- ⅛ teaspoon cooking salt / kosher salt or table salt, or double qty for salt flakes
- 1 cup mozzarella cheese tightly packed cup, shredded using box grater
- ½ cup parmesan tightly packed cup, shredded using box grater
Instructions
Pizza Preparation
- Preheat oven to 250°C / 480°F (230°C fan). Allow time to get it nice and hot!
- Mix olive oil and garlic in a small bowl. Set aside to infuse with flavour for 10 minutes.
- Make and roll out chosen pizza base, stretch onto pan.
- Spread oil (and all garlic) onto the base, leaving the crust baked. Sprinkle with salt, parmesan then mozzarella.
- Bake for 8 minutes, turning after 4 minutes, or until the cheese has golden spots. Cut and eat, stat!
Leave a Reply